

Original text by Marina Belova
I'm giving a serious thought to creating cutwork on the embroidery machine. Once and for all I decided to work out the technique to the last detail and to learn all the secrets of cutting out the holes by hand.
I've encountered this embroidery technique many times before. Even drew the designs for it in Corel Draw. Though I'm not an artist. Like the majority of designers that create their own embroidery designs, I've never thought how to make a drawing of such quality that it could be embroidered right away. To take into account all the slight and subtle differences (what should be done and what shouldn't), one must understand both the digitizing and the embroidery processes. Well... that's why the embroiderers offered some criticism of my designs. After all, the resulting look of the embroidery depends on the original idea a great deal.
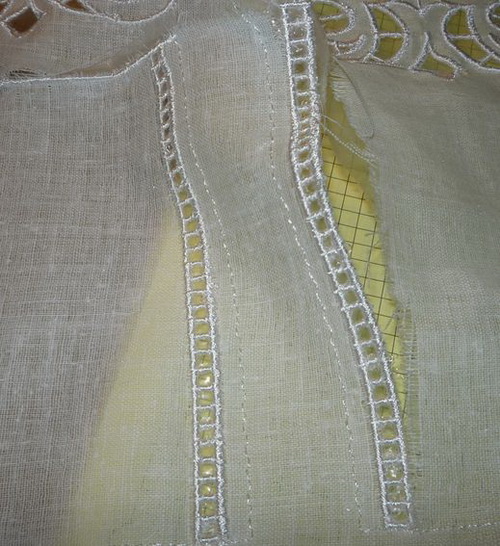
In my grandmother's coffers, I found a cutwork curtain, make in a free-motion embroidery technique. This machine made piece was created 40 or 50 years ago.
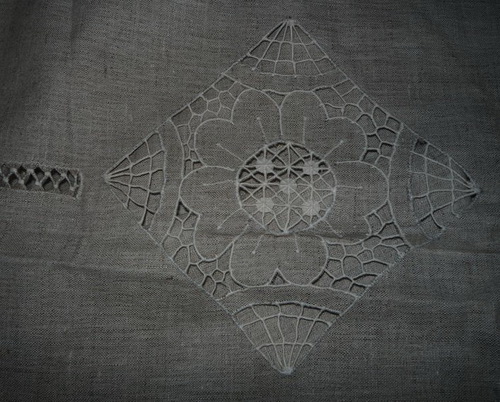
The curtain has been washed and washed again many times but the embroidery is still there: nothing has frayed, nothing has worn away! I also want to point out that the embroidery on this particular piece is very delicate. Which cannot be said about machine embroidery designs created on a computer. Here's a typical design from one of the most popular Russian embroidery shops, Advanced Embroidery Designs. (Nota bene: you can also find a variety of such designs in our shop).
Thin borders are not perhaps the best-looking but their main advantage is that nothing will fray or detach. Such items are not excessively thick, the embroidery is very soft and looks more delicate.
Having seen all this once again, I decided to create my own design and achieve as thin bridges as possible.
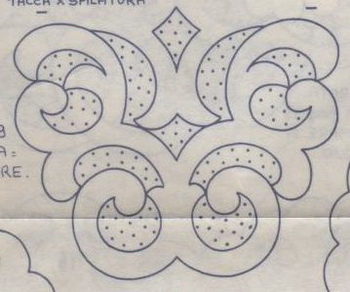
So I found 2 designs. A flapper for sachet:
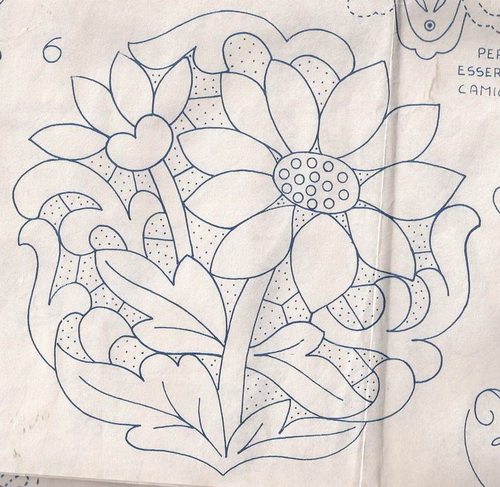
A rosette-shaped drink coaster:
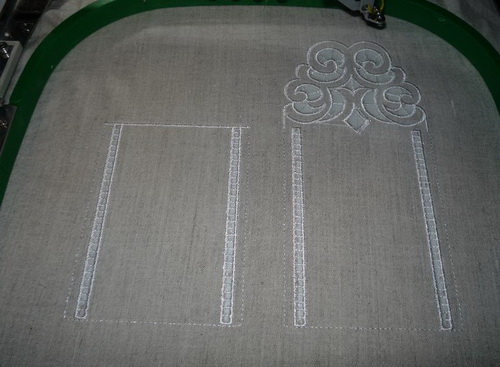
I digitized the first design, for the sachet with a flapper:
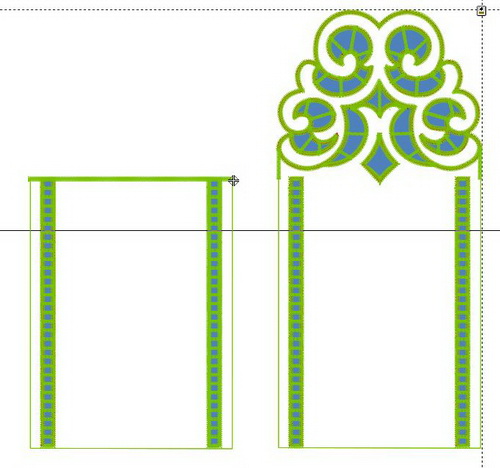
After two unsatisfactory attempts and further corrections, I arrived at the conclusion that the density should be reduced to at least 0.7-0.8 mm and the number of running stitches under the bridges narrowed down to just 2. The bridges themselves should be made with two narrow zigzags running in the opposite directions.
A special focus should be on the first part of the design which contains the first parallel underlay with very short stitches and small zigzag stitches over it. This is the basis for the embroidery. The stitches should interlink so that the bridges won't detach and the satin borders around the holes won't fall off. You need to plan your embroidery sequence so as to keep the number of trims to a minimum.
An even greater attention should be paid to the choice of fabric. My first fabric was so battered with old age that it raveled out in my hands when I started to fiddle with it after the embroidery:
In the end, I embroidered this design on a linen piece and then sewn the sachet. I showed the photo in my article about cutwork creation:
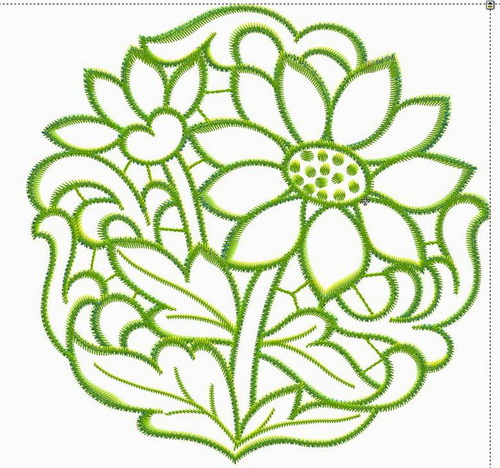
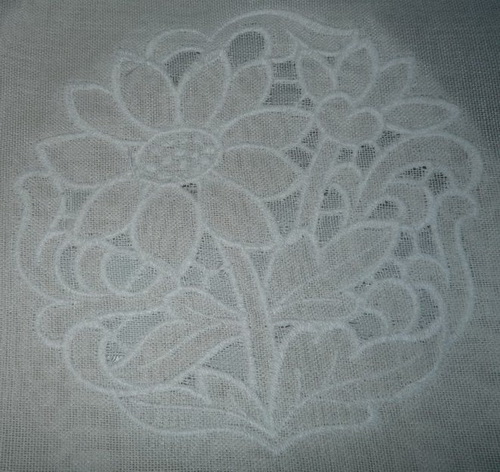
I'll elaborate upon my second design because it turned out so much better than the first. Below is the preview of the ready design:
I planned to embroider it not with a rayon or a polyester thread, but with a cotton one (~30–35 g). In my opinion, lustrous embroidery threads are not suitable for cutwork because they make it look like a cheap Chinese product.
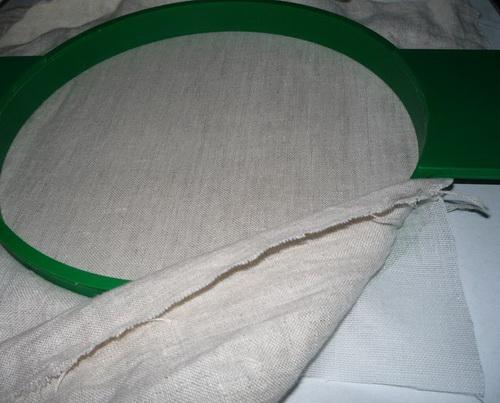
First, I hooped a heat-away stabilizer called Thermogaze from Gunold together with a piece of linen fabric.
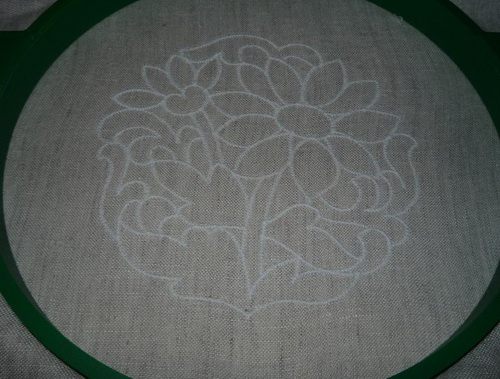
Hit the start button and stitched a double outline along the perimeter of the design:
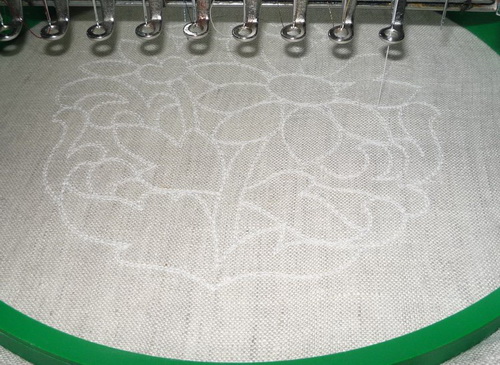
Right after that I added a small zigzag on top of it:
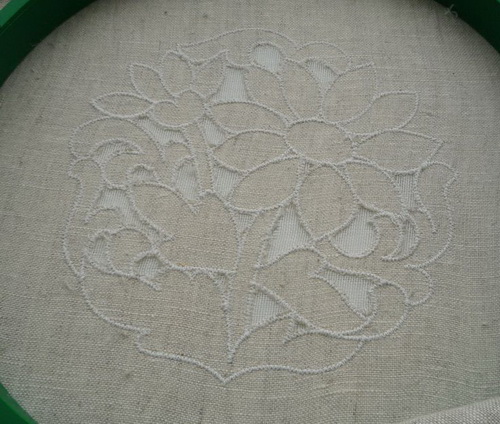
I took the hoop off the machine – time to cut out the holes. Cutting out took as much time as the embroidery and didn't please me the slightest bit.
One hell of a task, not for the weak-nerved! In spite of all effort, I cut the stabilizer in several places:
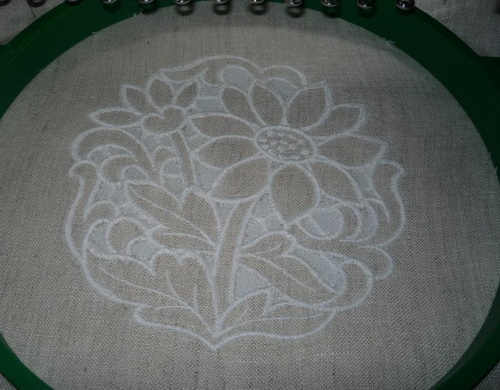
Then I inserted the hoop back into the machine and embroidered the rest in one go:
This is the wrong side. It is rather neat.
Then I trimmed the rosette along the perimeter.
I now have little left to do – to remove the stabilizer. I put my rosette between two layers of paper:
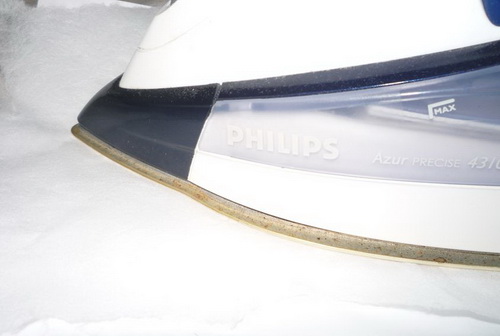
And then place a very hot iron (no steam!) on top of it:
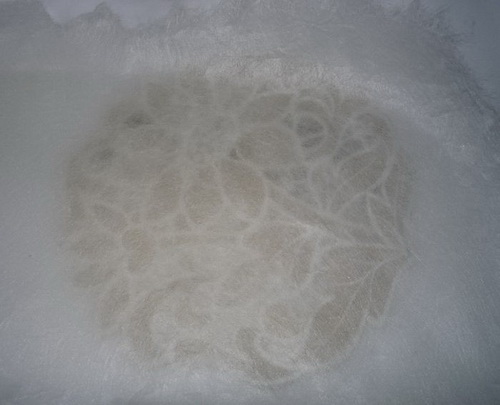
Wait for about 2 Tequilajazzz songs until Thermogaze will get darker. This is what I got on the wrong side:
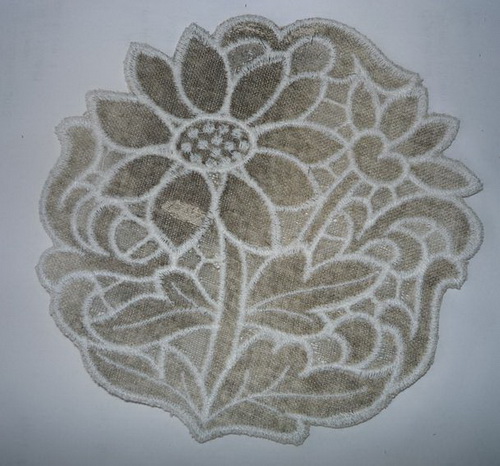
Rumple and pull the embroidery to remove the stabilizer. Also, this will help you to test the embroidery for endurance and resistance to wear.
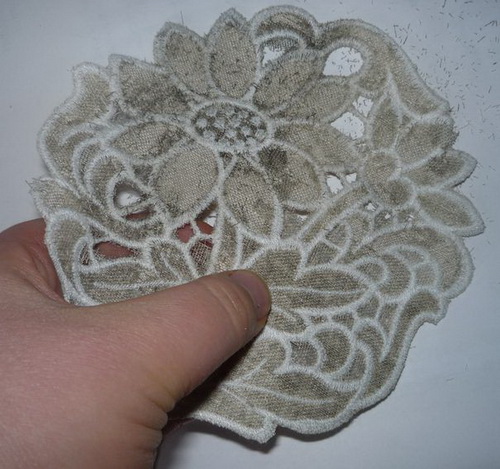
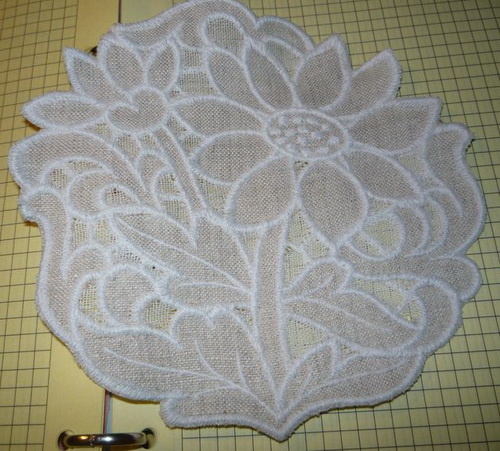
Here is the ready rosette:
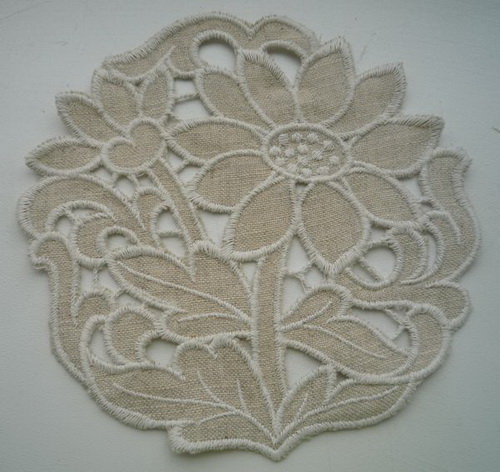
It has the most ordinary look, and the bridges are not as thin as I wanted. But neither are they the thick monsters from the other designs. I believe that if embroidered with the ordinary #40 threads the bridges would be much thinner. A very pleasant fact is that nothing shifts or comes apart.
Why did I choose Thermogaze as a stabilizer instead of a water soluble film? Because it's much easy to use; the film would be very hard to wash away afterward. The only thing I like about embroidery on film – it is practically impossible to snip it with scissors when cutting out holes, which cannot be said about a heat-away stabilizer.
My entire design had only 2 trims: the first one for cutting out holes and the second one for trimming after completion. This was not easy to achieve. Also, I had to rack my brains over joining the parts of the embroidery with the underlay so that it would keep it together after the embroidery. My only mistake was not enough reinforcement of the edges. Satin border, in my opinion, insufficient. You need more reinforcement along the perimeter, like in a festoon. I'll do that next time.
Now I understand that the experienced pros of free-motion embroidery would make the best digitizers. They, too, try their best to avoid trims and plan the embroidery sequence right in the course of the embroidery.
In general, I learned that there is no sacral knowledge behind this type of the design. A cutwork design can be created in any embroidery editor.
All the digitizing laws are just as relevant here. The only thing you need is to use your brains.
Download the ready design here.
-
 3
3
There are no reviews to display.