
Original text by: Marina Belova
Today I've suddenly got an interesting idea — that everything in machine embroidery, as well as in our whole life, can be done according to Dan Roam's technique, suggested in his book The Back of The Napkin: Solving Problems and Selling Ideas with Pictures. It has four simple steps: Look, See, Imagine, Show.
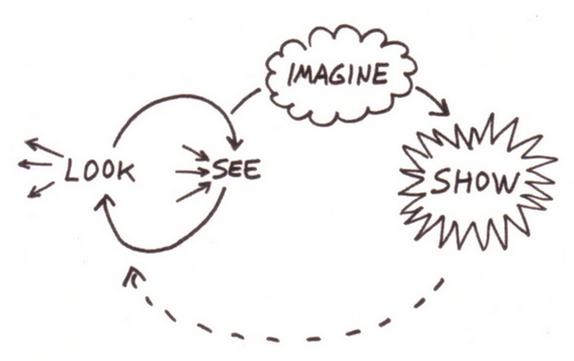
First, we observe ("Look"), then we assess the situation ("See"): who/what, how many, where, when, how and why. After that we, using our ability of abstract thinking, try to envisage something that does not yet exist ("Imagine"). That is, we make the embroidery settings according to our knowledge and experience. And only then, having imagined the whole thing, we go to the machine to make sure to ourselves and to the others that our ideas were right ("Show"). From this moment, we start all over again: look, evaluate and so on down the line. We've now come the full circle.
The steps of the embroidery process are exactly the same (at least in my case). For example, today I found a piece of faux leather and decided to figure out at last how the embroidery process will differ from the one for woven textiles. So I conceived an idea of embroidering a BMW logo.
First, I decided to see what qualities this particular piece of faux leather possessed. Despite the fact that faux leather has a soft textile underlay, it turned out to be extremely stretchy. And besides, it is a very delicate material. One the other hand, it does not crease.
From this moment, I begin to size up the situation and make first decisions according to what I have seen and if there are materials available for embroidery on it. I understood right away that the faux leather has to be stuck onto stabilizer or the embroidery will pucker and look bad. As I don't have any filmoplast, I instantly thought of using a temporary spray adhesive. And because this material is crease resistant, it can be hooped, which is generally good for the embroidery. What is also good is that faux leather is thin, and, therefore, I won't need to use thicker needles. Moreover, I won't change them at all — I use #70 with a SES needlepoint.
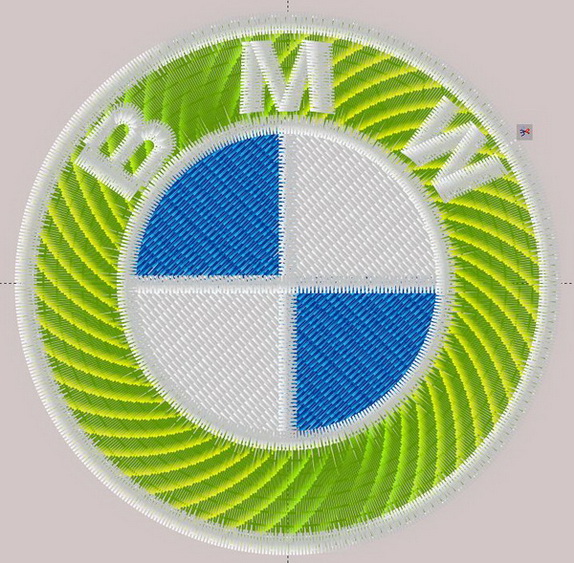
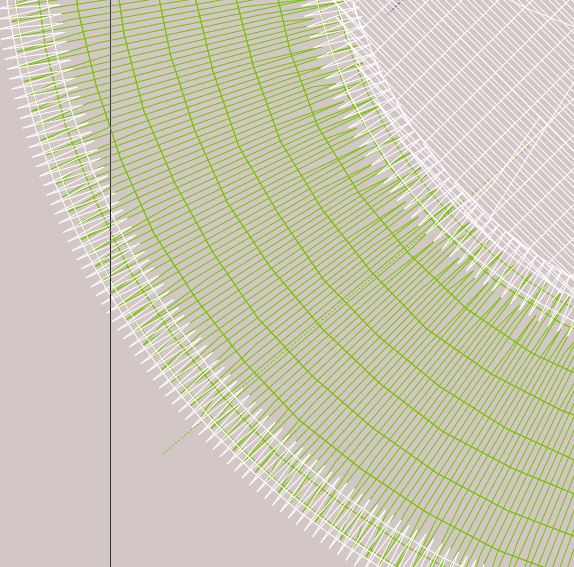
Now "Imagine" step — I created the first version of the design relying on my limited knowledge of embroidery on faux leather and similar materials, about which I've written some time ago. Here is the preview:
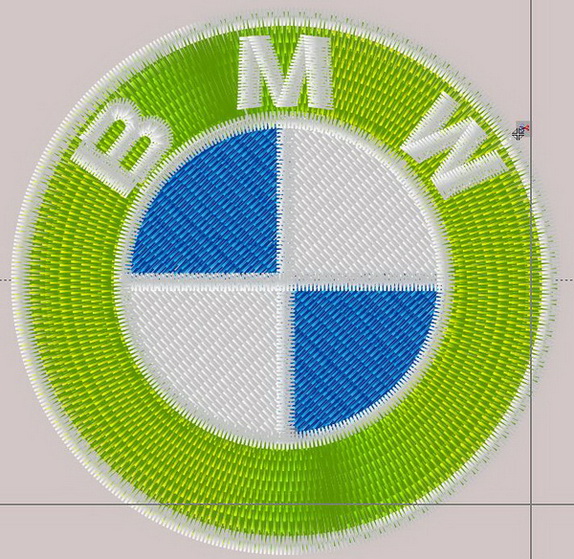
I set the following parameters: lowered the density of satin columns by 20-25% (depending on their stitch length), and also lowered the fill density by 30%. I also increased fill stitch and underlay stitch lengths to 4.5 mm. And put double zigzag with the density of 1.2-2 mm as a foundation for wide satin columns (the outer ring with inscription), and lattice at 90° angle under the fills. I also moved the underlay 1 mm away from the finishing satin stitch layer. Thin satin columns went without the underlay.
Then I got to the "Show" part — embroidered what I have visualized.
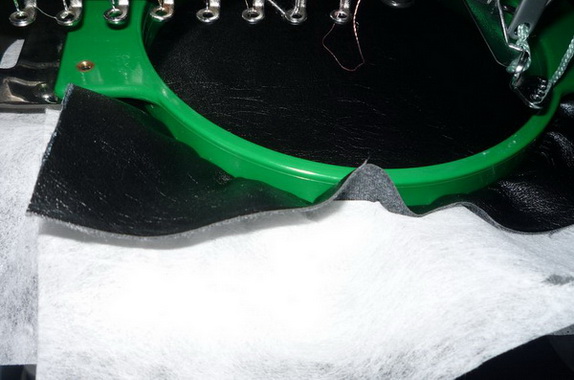
I hooped the piece of faux layer with 2 layers of tearaway stabilizer. Prior to this I glued them together with a temporary spray adhesive:
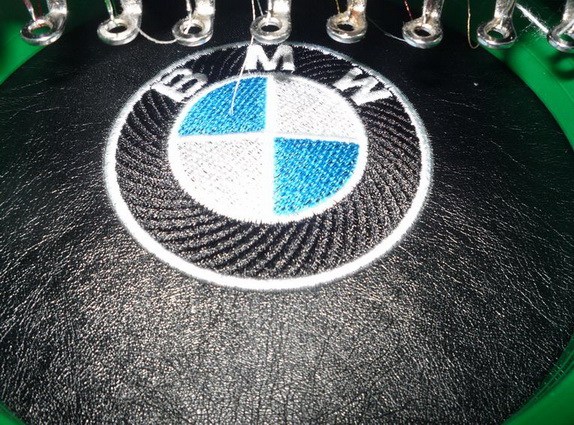
Embroidered the design:
Now back to the "Look" step to see the result. We've once again come the full circle.
While the faux leather was in the hoop, everything looked rather good. At least, the embroidery didn't perforate the fabric along the perimeter. This is an achievement — it means that these density settings are suitable for this type of fabric, as are the needles. But when I unhooped the embroidery, I immediately realized that it was pulled and wavy:
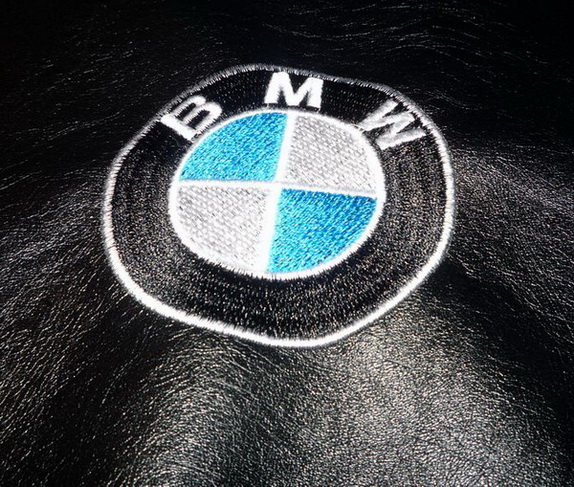
Hoop burn was also present, but it was not too apparent and disappeared in about 15 minutes.
From what I have seen during the embroidery I came to the conclusion that the waviness was present only on the outer ring, therefore, according to the theory, the density value was too high. There is nothing wrong with the density of satins columns, but it is obviously too high for the underlay. The reason is not insufficient stabilizing, but the stitch count itself. It would be better to make the underlay less substantial. And change the look of the fill, because it turned out to be no good. Besides this, making some corrections to the letters and the logo outline would do no harm.
So I made all necessary changes:
I increased the density of underlay under white parts of the design so that they were less transparent. Then I increased the thickness of the white outline and put the edge run under it — so that it did not sag down. I changed the filling under the letters in the satin stitch ring, and also made the completely another underlay for it — of the same round shape:
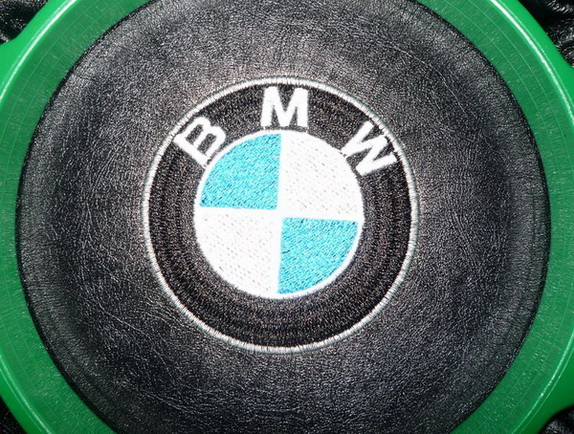
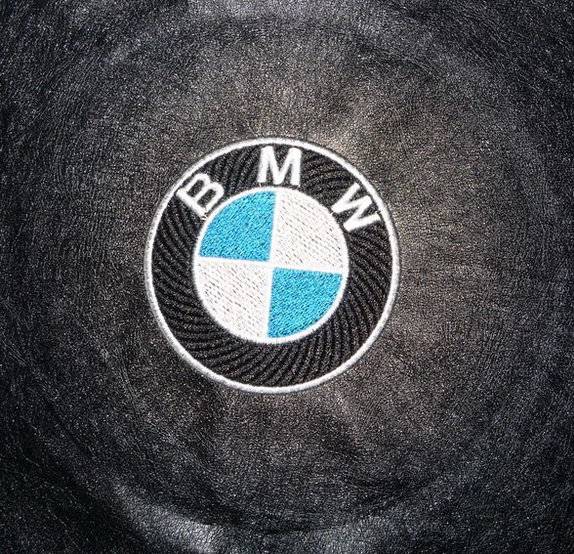
After that I rehooped the logo and embroidered it once again:
Here it is, already out of the hoop:
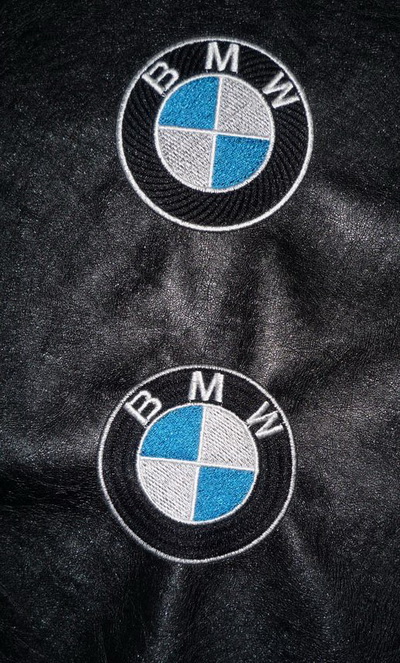
Of course, this sample, too, has its disadvantages. But it is much better than the first one.
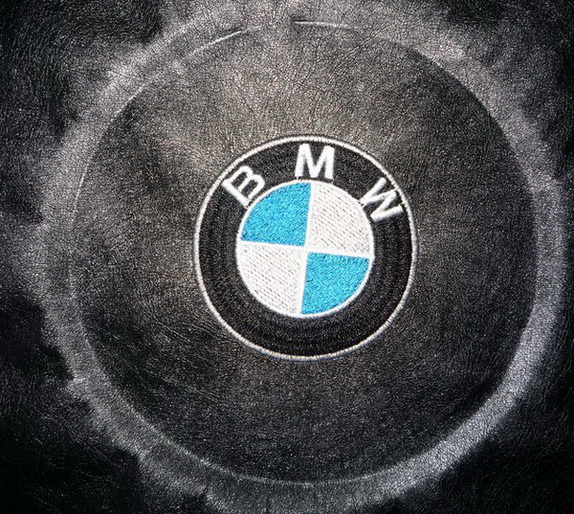
Two logos beside each other:
This is how you may connect machine embroidery to Dan Roam's technique, with looking, seeing, imagining and showing are closely linked.
How can it therefore be split between different people?
And how do you act when creating machine embroidery designs?
Edited by Irina
-
 1
1
There are no reviews to display.