
How to embroider small items of clothing. Hooping tricks
Whenever there is a need to embroider small items of clothing, such as future pockets or cuffs, and your machine only has one hoop, these hooping tricks will do the job. There are several ways of hooping a small item, and in this article, I’m describing two of them. Either one will get you a beautiful high-quality embroidery.
The first way of hooping a small item is to glue it to the tear-away adhesive stabilizer. Just what you need for not-too-heavy designs and small monograms. Adhere the item to the stabilizer and hoop in the usual way; the adhesive will secure the fabric in place and prevent shifting during the embroidery.


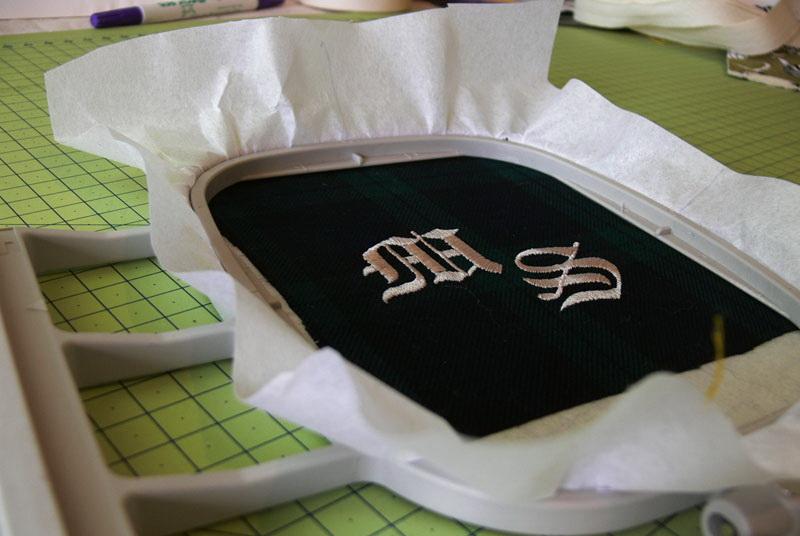
The second way is to hoop the fabric itself. Suitable for smaller and bigger items alike. This is called the fabric extension method. You’ll need a few strips of extra fabric (calico, for example). Stitch them to the main fabric with a straight stitch about 5 mm long.


After that, it is advisable to press seams with an iron to make them flatter. Adhere the stabilizer to the wrong side and hoop the item.


If you're an owner of a Brother Innov-is le sewing and embroidery machine, you can use the built-in camera for the exact positioning of the design.
This is very handy whenever the accurate placement of the design is crucial, such as while working with checkered or striped fabrics.
How to use the built-in camera
Press the Fabric scan key to view the location of the pressing foot on the LCD screen. Pick one of the positioning stickers that come with the machine and affix it within the embroidery field specified by the machine.


Take away the sticker and your hands and wait for the machine to perform the scan. Now the pattern can be viewed in the Embroidery Edit screen, allowing for the better positioning of the design on the hooped item.


When the embroidery is finished, remove the stabilizer leftovers or rip off the extra strips of fabric and iron the item on a soft underlay, right side down.


Original text by Irina Lisitsa
Don't forget to buy some lightweight designs from our store! ![]()
See also:
-
 1
1
There are no reviews to display.