
Original text by Marina Belova
Recently I allowed my mind to dwell upon the days of my youth, when hair ties just appeared on the market. So I decided to embroider an ordinary hair tie, particularly as my hair is now long enough to make a ponytail.
Frankly speaking, at first I scratched my head over how to do it. And why? Simply because would it be my professional machine, I would join the hair and the embroidery with a few stitches without hesitation, but on home embroidery machine the trick wouldn't pass (I've tried). And then it suddenly dawned upon me. It's very simple — you don't need to stitch the hair tie, but instead the ribbon, to which the tie is attached.
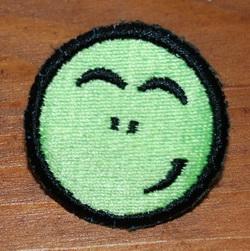
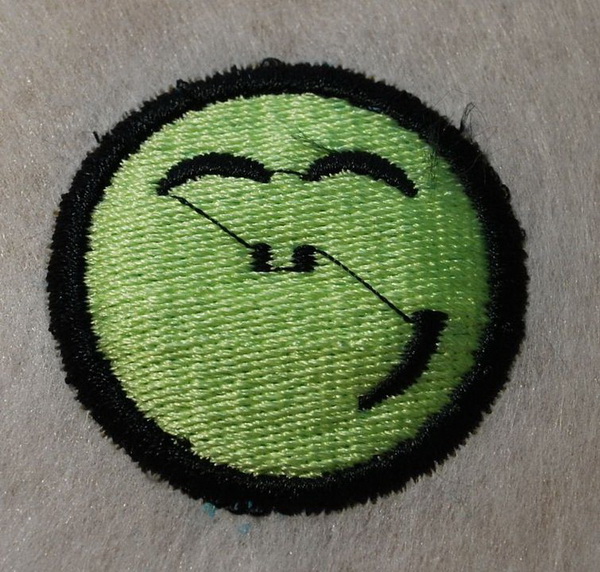
Here it is what I got:
The back side:
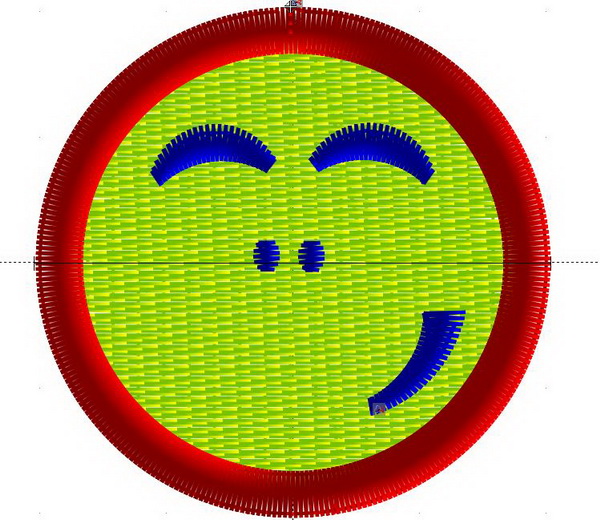
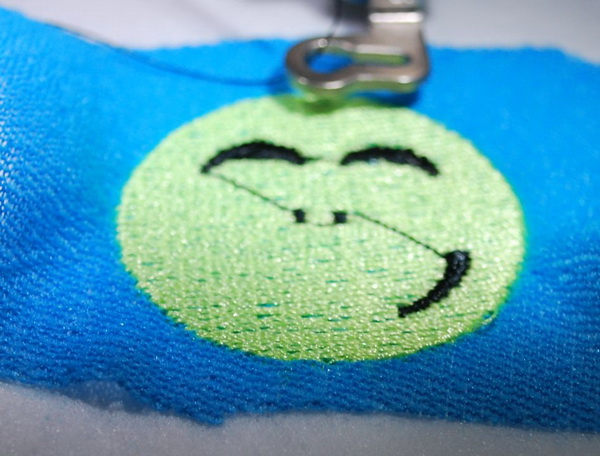
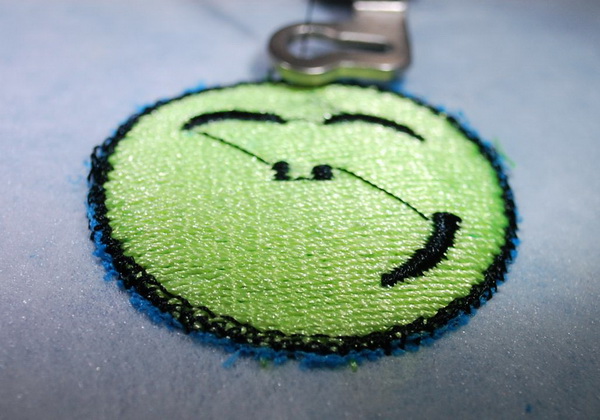
The emoticon may look big, but is only 4 cm in diameter. I created the simplest possible design, almost like the one for the chevron, but with an additional stitching that allowed me to cover the back side of the emoticon with the fabric. The overall stitch count was 3200.
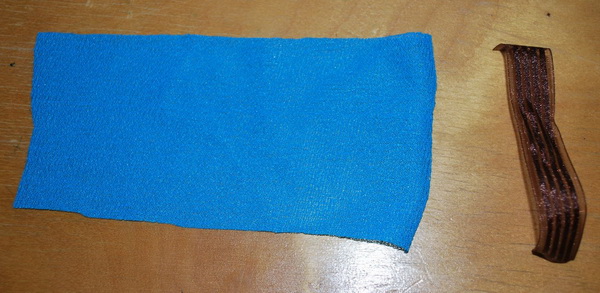
All I needed for my embroidery was a hair tie, a piece of fabric and a ribbon:
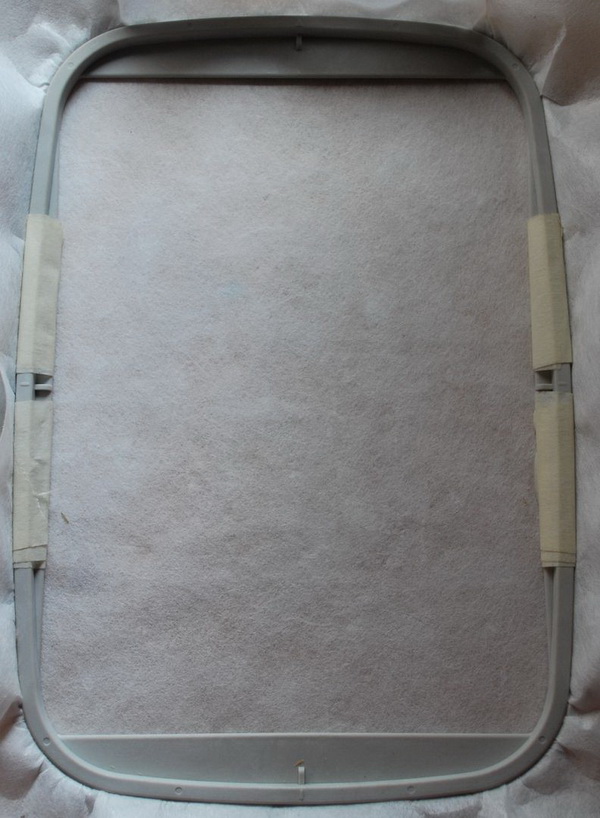
I hooped only the tear-away stabilizer:
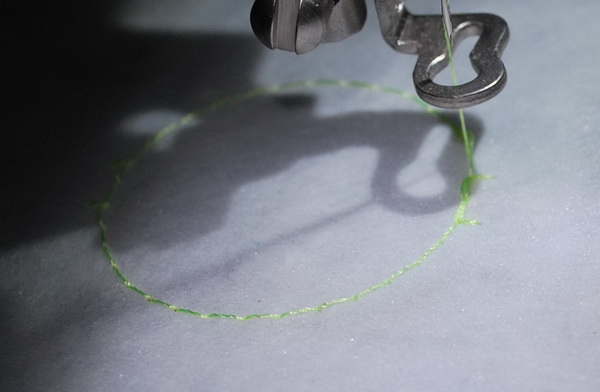
The basting stitch came first, as always.
Then I placed my fabric in the hoop and began to embroider the design on the right side:

Here's the emoticon already embroidered:
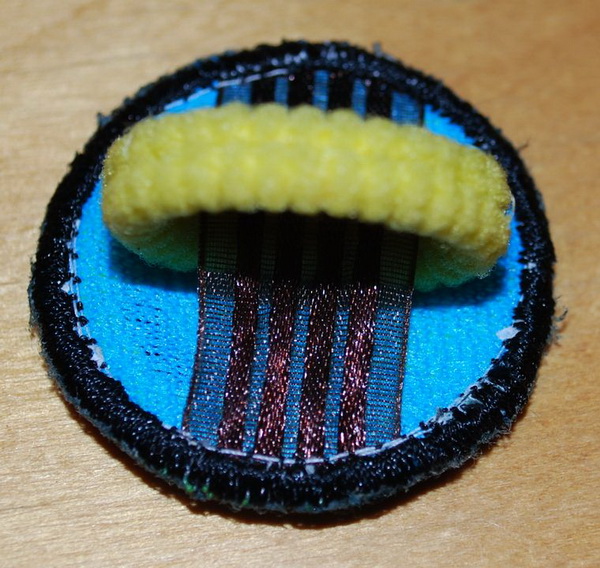
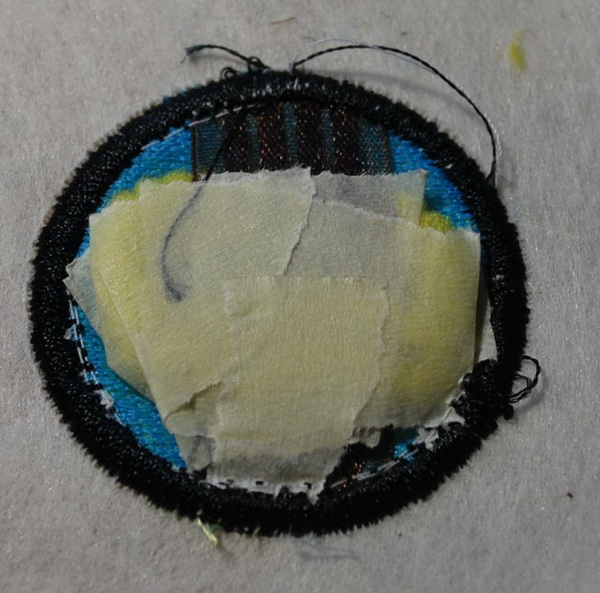
Then I took the hoop off the machine and trimmed all of the extra fabric around my embroidery, then turned it the wrong side up. And that was where the most interesting part began. I sprayed the wrong side of the fabric with a temporary spray adhesive and placed the hair tie with a ribbon that had been run through it, in accordance with the embroidered nose so as to hit the center. I secured the ends of the ribbon with a paper adhesive:
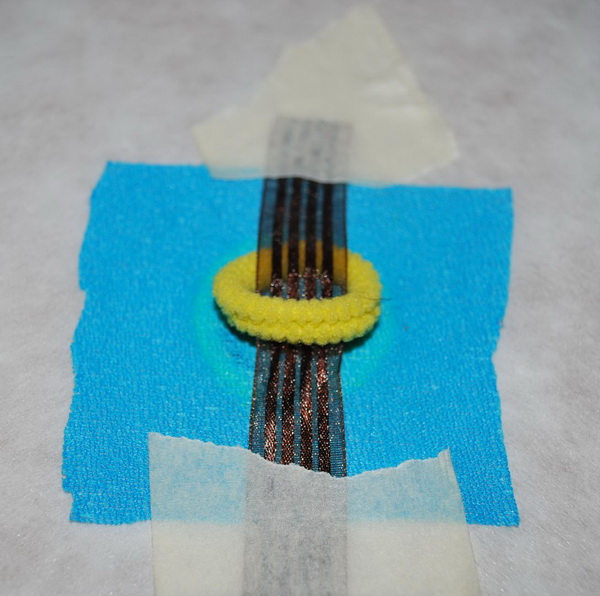
I placed a hair tie into the hoop so that it would not shift during the embroidery, and stuck a piece of adhesive tape to it so that it didn't get under the border. All this thing turned out to be quite puffy, so I even doubted that my home machine could cope with it.
Then I put my hoop into the machine and encircled the emoticon with a zig-zag border, along which I decided to cut both the hair tie and the ribbon on the wrong side. The machine struggled over it, but succeeded:
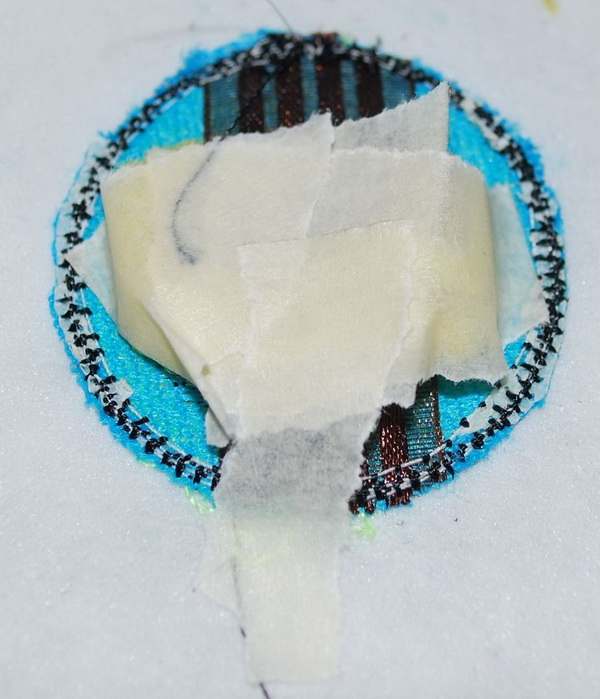
I take hoop off again and trimmed all the extras. But I didn't remove the adhesive tape:
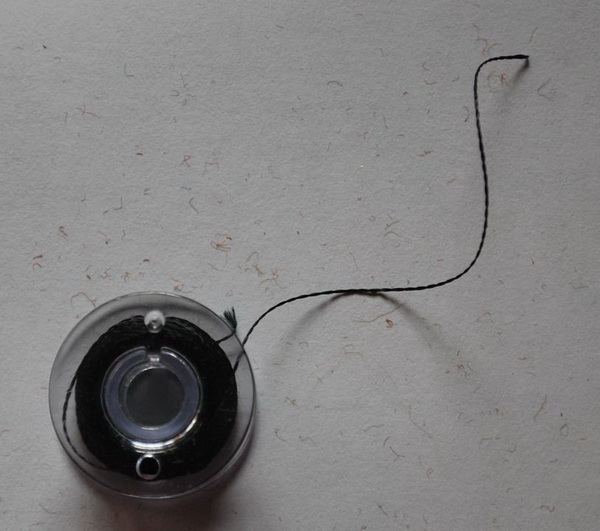
After that, I changed the color of my under thread to black — the color of my border.
Then I put the hoop back into the machine and embroidered the border:
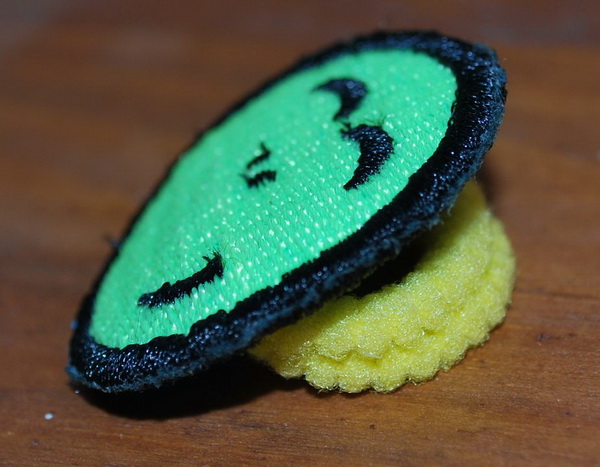
This is the wrong side:
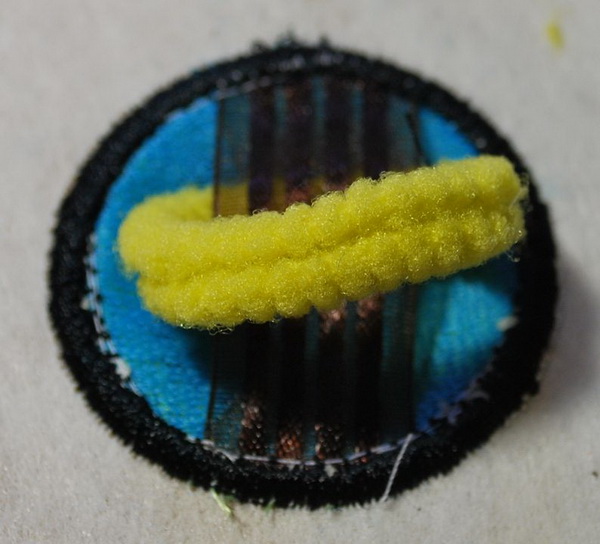
I unstuck the adhesive tape, and the hair tie was uncovered:
After that, all I had left was to remove the stabilizer and all the other leftovers (threads, stabilizer fibers, etc.)
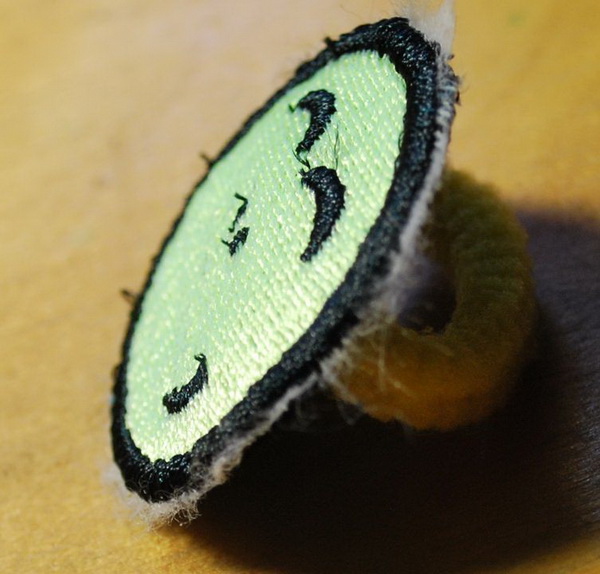
And this is how it looks from the front:

There are no reviews to display.