
Original text by Marina Belova
Today I've set out to do a simple yet in every way useful thing: a pincushion. It will allow me to kill two birds with one stone. No wait, even three:
- First, it will solve the problem of storing my needles and pins, which usually are all around the box where I keep sundries.
- Second, I'll practice digitizing for knitwear.
- Third, I'll practice embroidering on knitwear.
The latter two may seem odd to some people, but I can assure you that they are nothing of the kind. Even my meager experience on the subject tell me that this fabric requires experience, skill, and knowledge of all relating digitizing and embroidery techniques. And how can you achieve those if not practicing? Theory is nothing without practice.
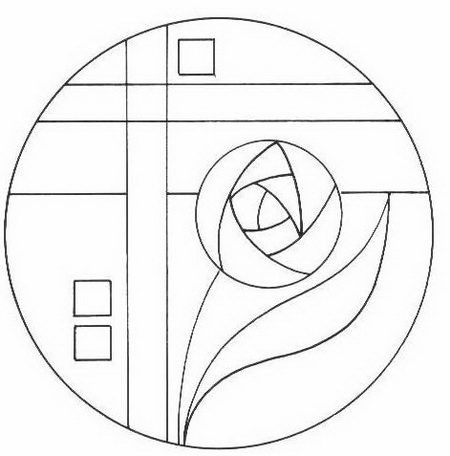
This very simple image became the basis for my design:
After digitizing it, I got this:

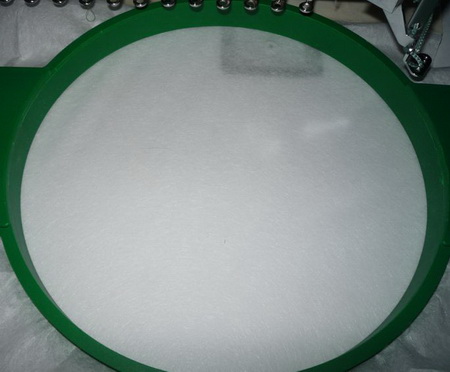
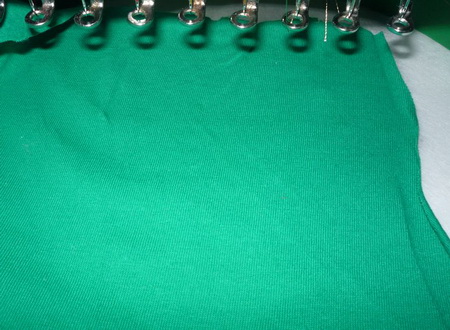
This being an In-The-Hoop project, I thought that I could do without hooping the fabric and hooped only a tear-away stabilizer (size ~35-40):
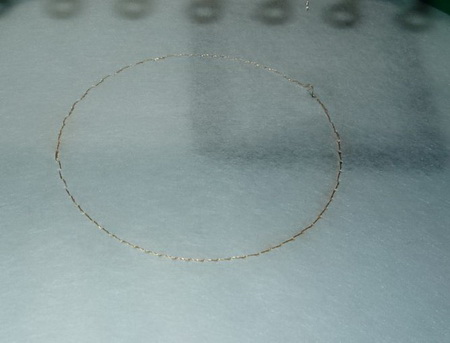
I start with embroidering the guideline:
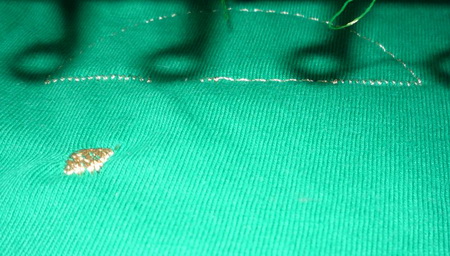
Then I put my fabric on top of it and sprinkle it with temporary spray adhesive (you'll see a bit later that it will hardly make it any good):
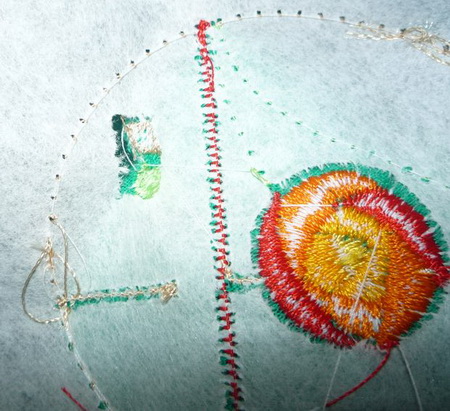
I hit the start button and here comes a very nasty surprise that I should have expected from the very beginning – the distortion of the fabric, which now has ugly wrinkles:
Those cannot be straightened out with washing and pressing:
Well, nothing can be done here, as you see. When I turned the embroidery inside out I saw that this stabilizer wouldn't do as the needle cuts right through it around the edges of the satins, falls off and does not support anything anymore.
Conclusion: use a cutaway stabilizer instead and be sure to hoop the knitwear. Furthermore, test the quality of the hooping, using the most common methods at the very least.
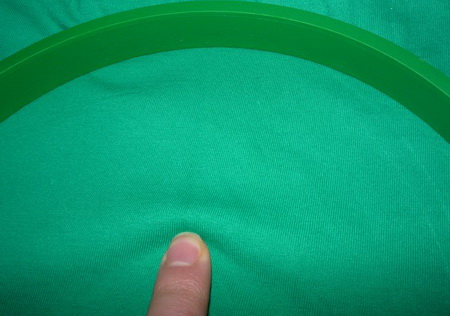
Then hoop your fabric and try to lift it a bit:
If you've succeeded, do the rehooping.
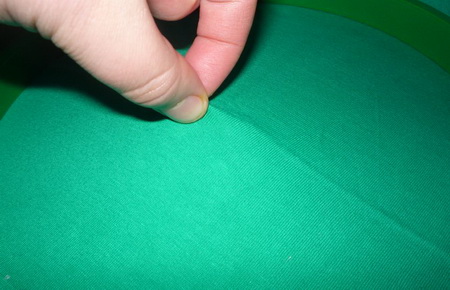
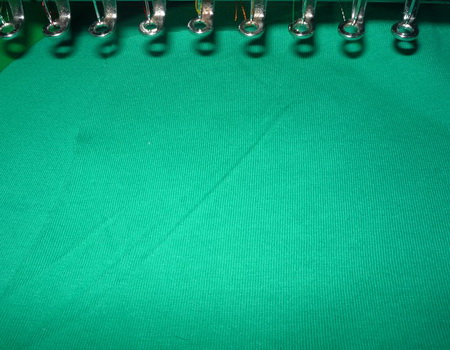
Or even simpler: slide your finger across the fabric and see if any bumps will appear, like on the photo below.
If there is one, the fabric is loose and you'll need to rehoop.
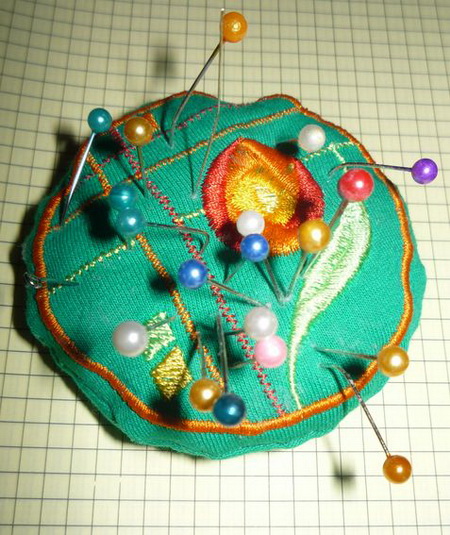
At last, after several attempts of hooping my piece of knitwear together with the stabilizer, I got everything right:
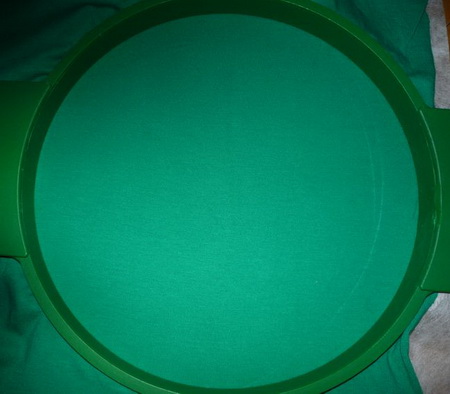
In the same photo, the hoop burn on knitwear is visible, which is not good either. But it does not matter in this particular case.
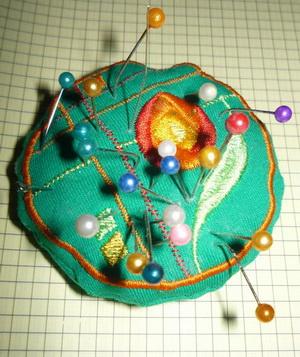
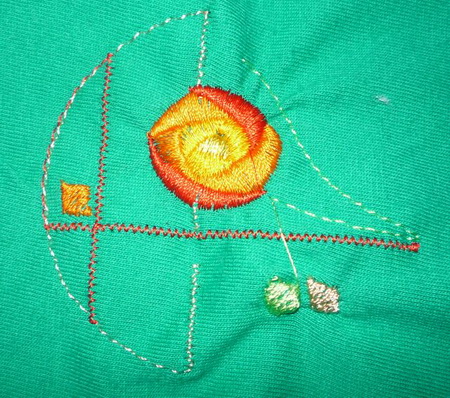
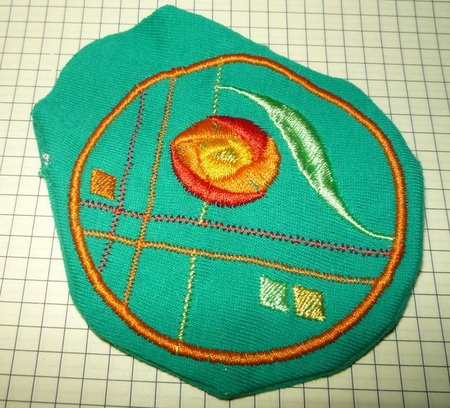
Now it's time to use the machine. I embroider the front side of my pincushion:
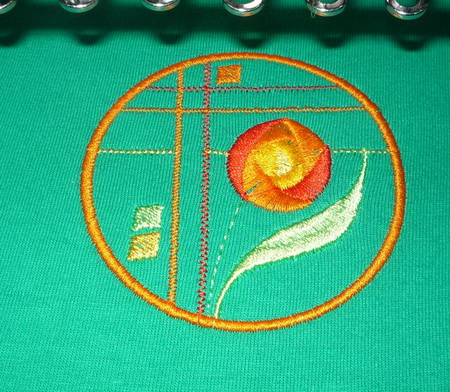
This time the result is much better. But it is still not good enough as there are gaps between the stitches in the flower. I should find out what went wrong at the digitizing stage. So I'll go and read some more literature on the subject of digitizing on knitwear.
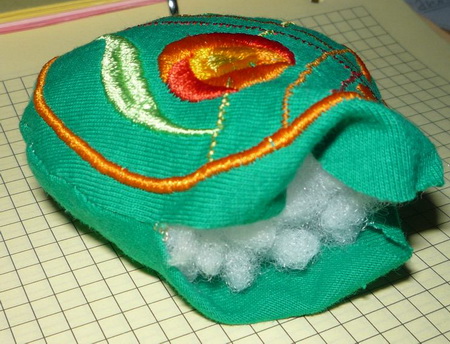
In any circumstances, I intend to finish this project. My next step will involve placing another piece of knitwear on top of the one already embroidered, to make the back side of my pincushion:
I start the machine and embroider an open circle.

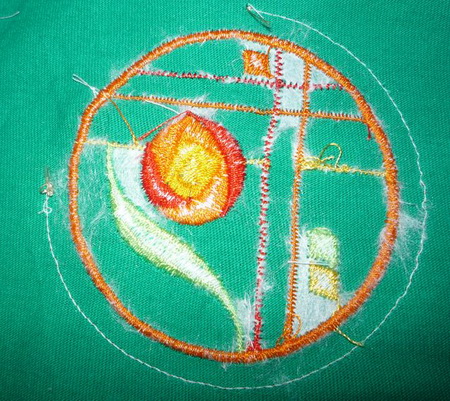
Then I unhoop the embroidery and remove the stabilizer from its wrong side where possible:
I cut the circle out of the fabric, leaving a margin:
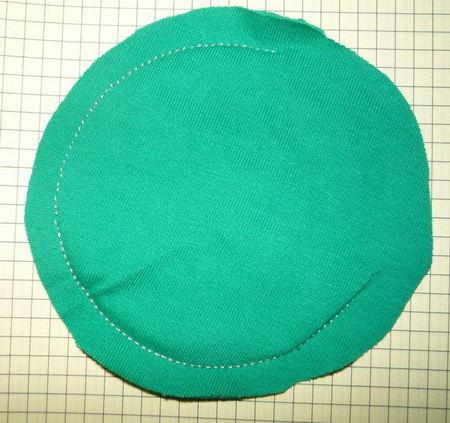
Turn it the right way round:
The only thing left is to stuff it and then sew the hole up.
The work is almost finished. The sequence is really simple. You can also attach an eyelet if you want to hang your pincushion on the wall.
But the knitwear itself is tricky.
-
 1
1
There are no reviews to display.