
Original text by Marina Belova
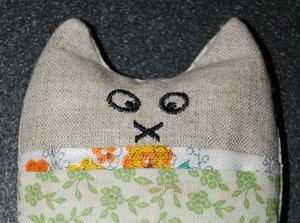
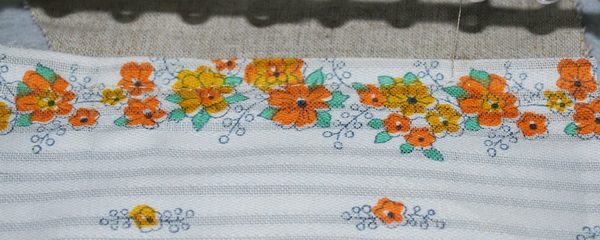
It occurred to me that I never did anything like that, so why not? Here's a cat made in the minimalistic style typical of all French designs, which are the subject of my respect and admiration. There is also a bit of quilt in it (a decorative strip across its chest), also made right in the hoop.
The idea for the design came from the open sources online. The design may be used for non-commercial purpose only. You may also publish it on the Web with the reference to my website.
The design is in a *.dst format. To convert the file into other machine embroidery formats you'll need a converter. You can read more about it here.
Soft kitty (download)
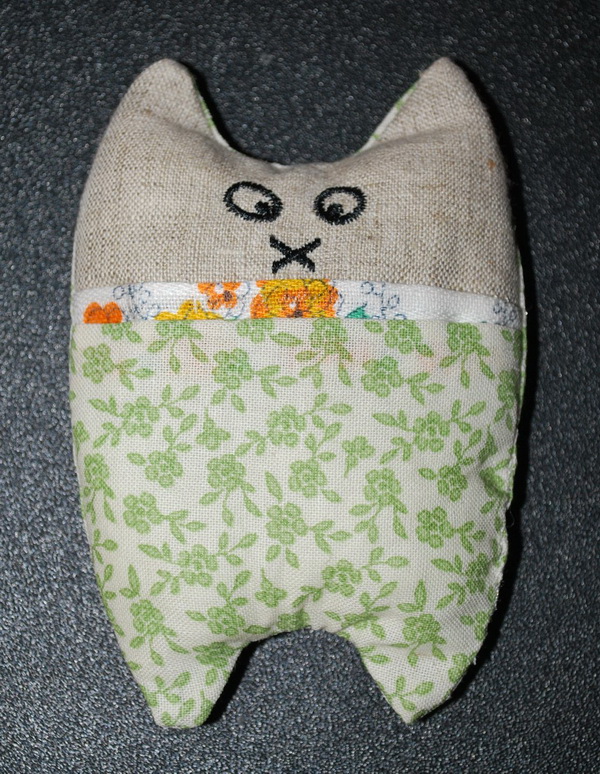
- The design size: 8.7х12.2 cm
- Stitch count: 1411
- Number of colors: 1 or 2. Number of colors depends on whether you want to change threads. I used two threads, a black one for the nose and eyes and a beige one for everything else.
The embroidery sequence goes like that:
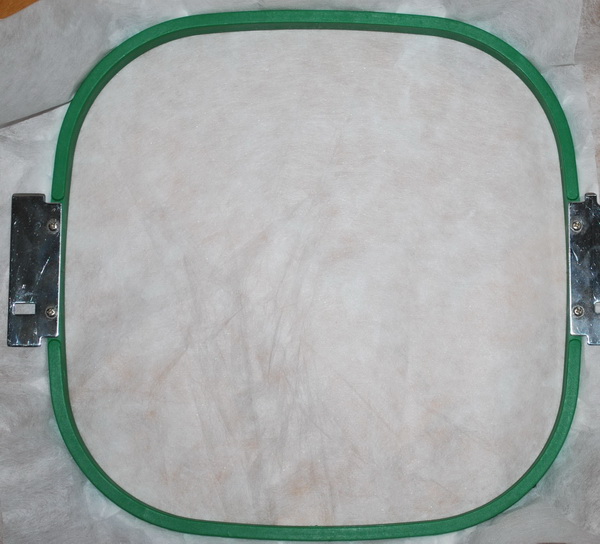
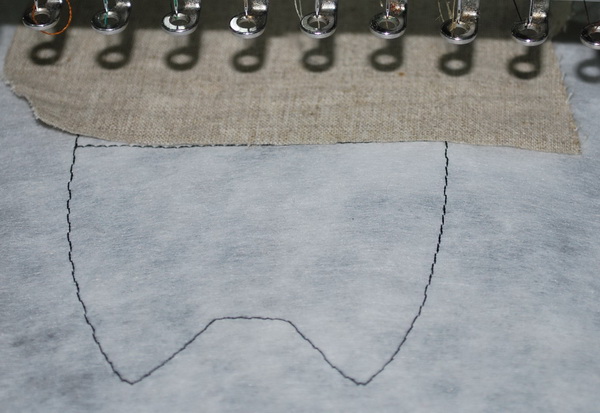
Hoop a stabilizer (tear-away):
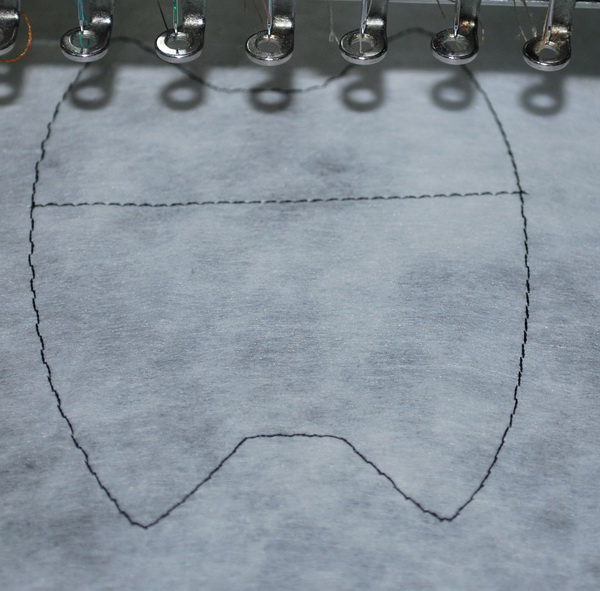
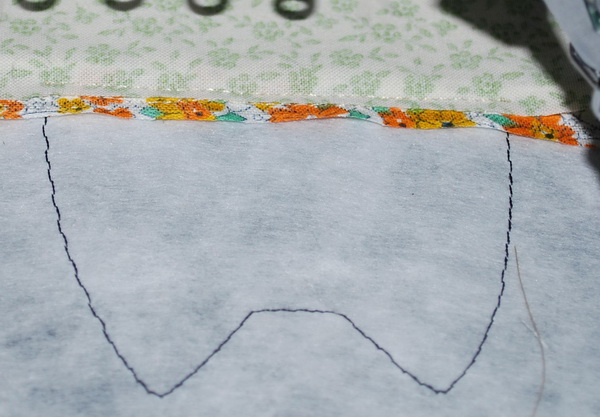
Stitch the first outline directly on the stabilizer:
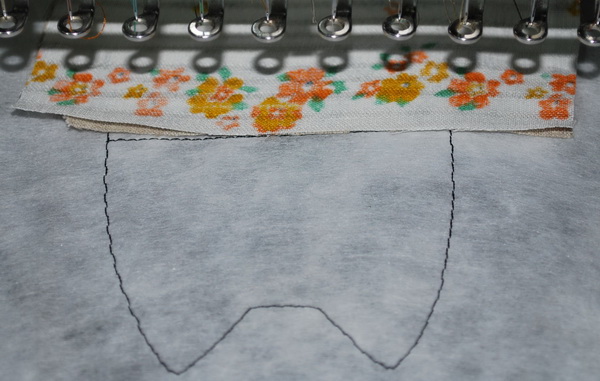
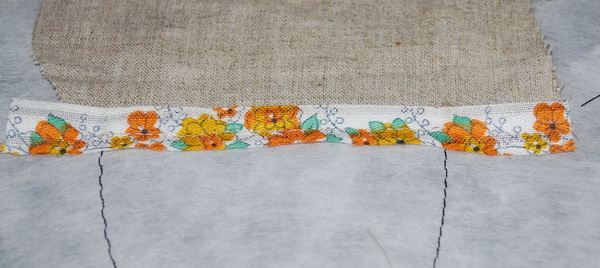
Put the first front piece right side up, aligning it with the horizontal line:
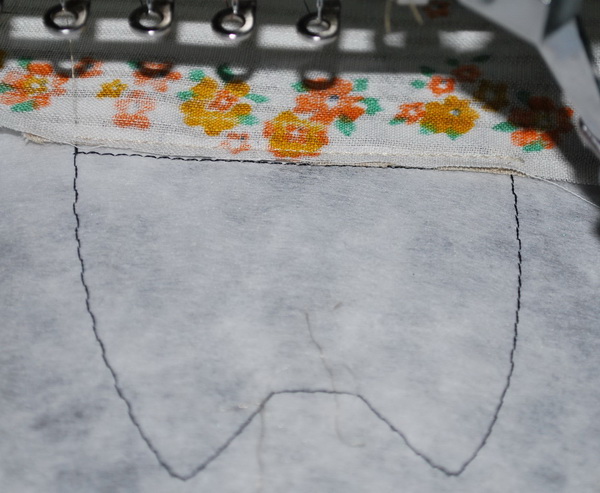
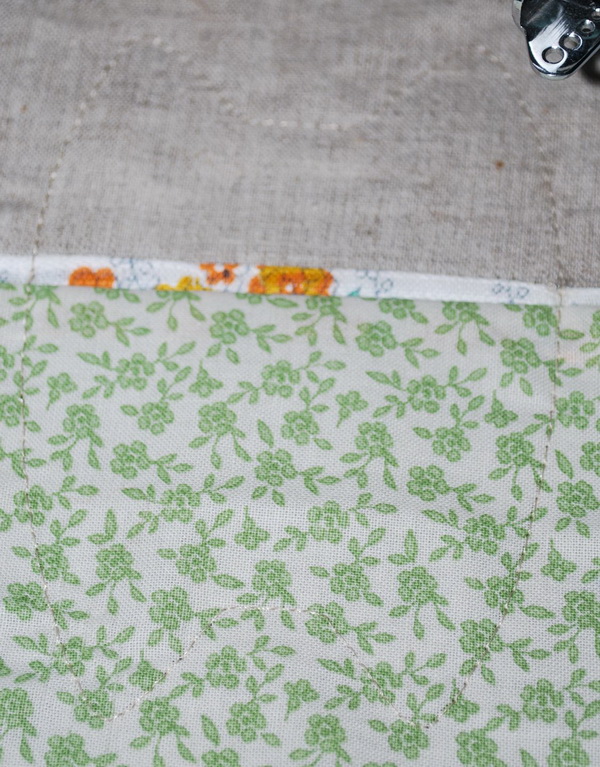
Cover it with another piece of fabric with its wrong side up to make a narrow strip on cat's belly. Align the edge with the outline:
Start the machine and stitch the strip that joins these two pieces together:
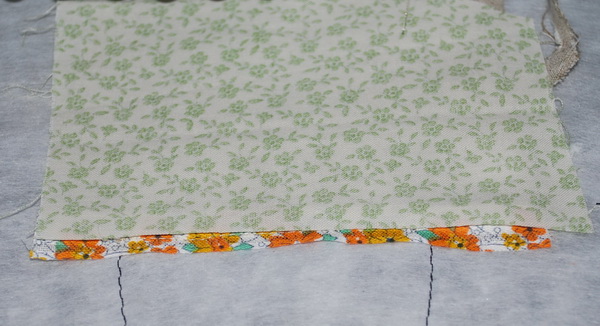
Turn the fabric back to flatten the seam:
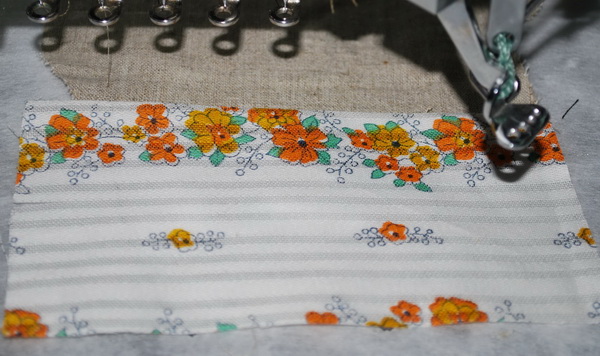
Stitch one more basting stitch over it. You'll need it to know where to put the next piece of fabric for cat's lower part:
You may trim this piece of leave it for later:
On top of it place the lower part piece with its wrong side up, aligning the edge of the fabric with the basting stitch:
Stitch it:
Turn it back to flatten the seam. Stitch the whole thing along the perimeter to secure all three pieces on stabilizer:
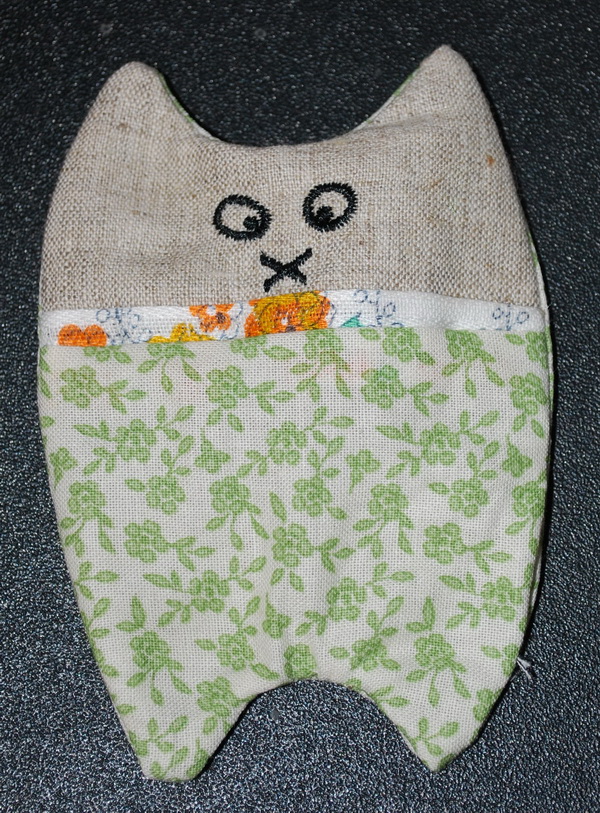
Embroider the eyes and the nose (black in my case):
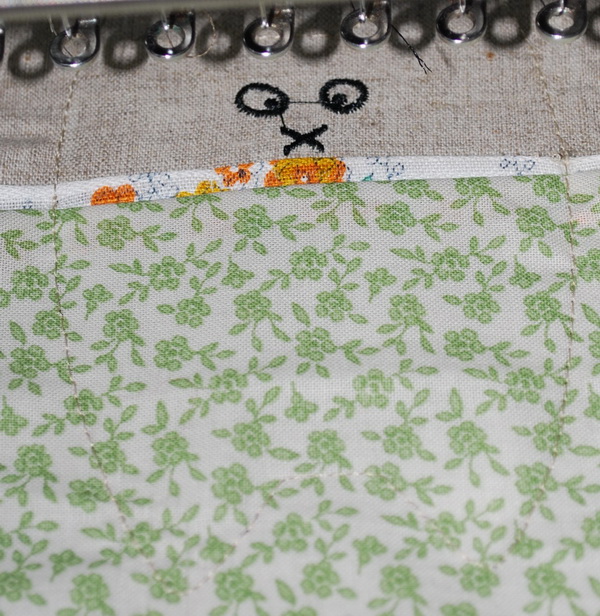
Cover it all with yet another piece of fabric with its wrong side up. This time, we'll make cat's back side:
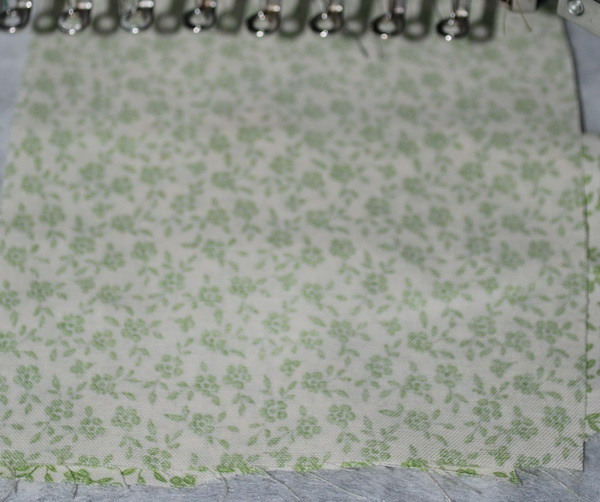
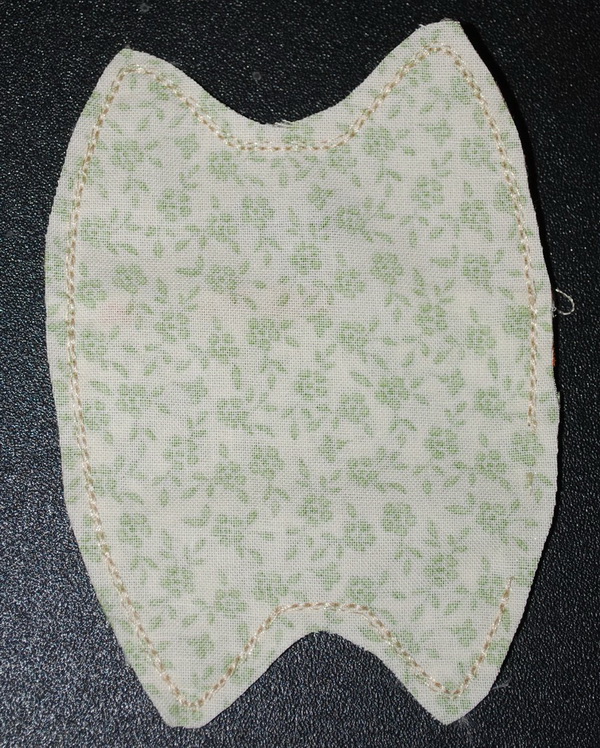
Stitch the cat perimeter-wise:
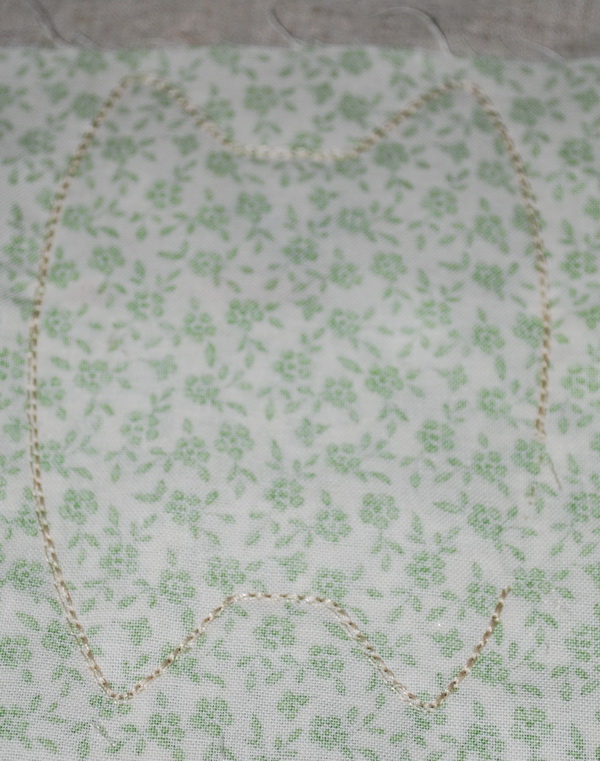
Unhoop it, remove the stabilizer, cut it out along the perimeter (don't forget seam allowance!):
Turn it the right way round:
Fill it and stitch the opening:
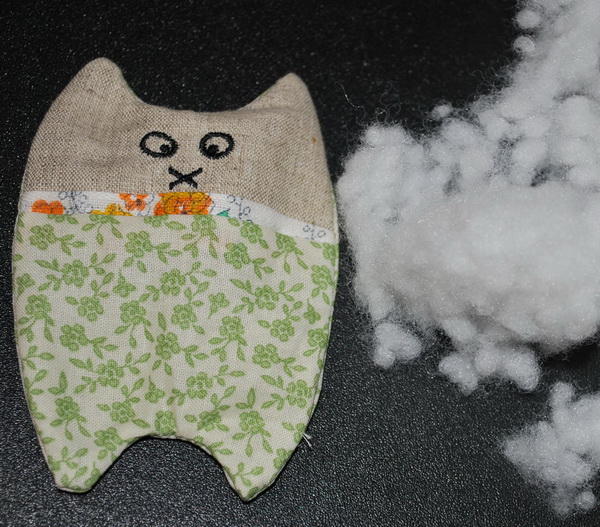
That is all. Nothing overly difficult.
P.S. You can download other free designs from our online shop.
-
 1
1
There are no reviews to display.