
Original text by Marina Belova
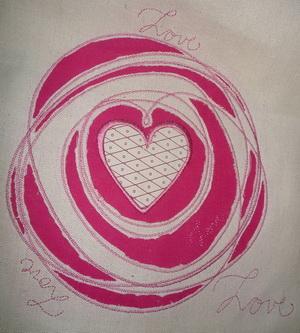
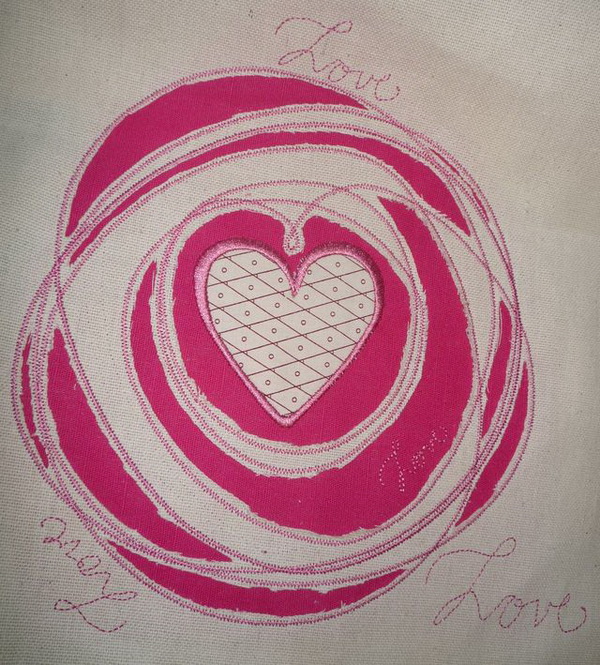
Reverse, or inverted, appliqué in machine embroidery is a result of putting one or several layers of an appliqué fabric underneath the base fabric that works as a background. A design is embroidered and the base (background) fabric is removed layer by layer in specified places. Reverse appliqué creates an illusion of a distance.
Like an ordinary appliqué, the reverse appliqué is used for saving up on stitch count in large objects.
I'll examine the process of cutting the fabric by hand right in the hoop and also after unhooping.
- The process of creating an appliqué is very simple to the one for the traditional patched appliqué:
- The appliqué fabric is placed underneath the base fabric and is hooped together with it. This whole "sandwich" can be sprinkled with temporary spray adhesive if you want.
I've seen 2 types of recommendations on where to put a stabilizer. Some experts say that the stabilizer should be placed between the base and the appliqué fabric. And some advocate for the standard way – the stabilizer backing.
- I think that in case the stabilizer is put between the fabrics, you'll need a water-soluble or a fusible stabilizer. This method is suitable for the clothes so that the item is soft and pleasant to wear.
- One way or another, you need to choose the stabilizer in each individual case. And your decision will be governed mainly by the design.
- The layers of fabric are joined together with a decorative stitch. The machine should stop so that the base fabric could be trimmed right in the hoop, in order to expose the appliqué fabric underneath.
- After unhooping, the item is taken out and the extra fabric on the wrong side is trimmed as well.
- If the design contains a large number of stitches on top of the appliqué, the appliqué fabric is better to be trimmed before the base one to avoid lumps. In that case, the hoop is taken off the machine, turned the wrong side up and the appliqué fabric is trimmed along run/zigzag/satin stitch on the right side, at a distance of several mm. The hoop is placed back into the machine, and the embroidery is finished.
- In the end, trimming takes two times as much as in traditional appliqué. But it contains much fewer stitches.
Choosing the image and preparation
Designs that are good for traditional patched appliqué, are suitable for reverse appliqué as well.
Digitizing of a reverse appliqué
- Dense fabrics not prone to fray
- Create an outline for sewing up our "sandwich": the main fabric + appliqué fabric + stabilizer. Several running stitches or a bean stitch with a low stitch length are used for the outline.
- But you can use a motif stitch, too.
- Insert a stop so that the hoop will come out for trimming. Every type of machine has its own way of adding commands.
- If you only have 1 layer of the appliqué fabric, you can trim the base fabric after unhooping. If there are several, you'll need to trim right in the hoop.
Fraying fabrics
- Create an outline for sewing up our "sandwich": the main fabric + appliqué fabric + stabilizer. Several running stitches or a bean stitch with a low stitch length are used for the outline.
- On top of this stitch place a low-dense zigzag, satin or motif stitch. This is necessary to prevent fraying.
- Insert a stop so that the hoop will come out for trimming. The method depends on the machine type. If you only have 1 layer of the appliqué fabric, you can trim the base fabric after unhooping. If there are several, you'll need to trim right in the hoop.
-
 2
2
There are no reviews to display.