
Original text by Marina Belova
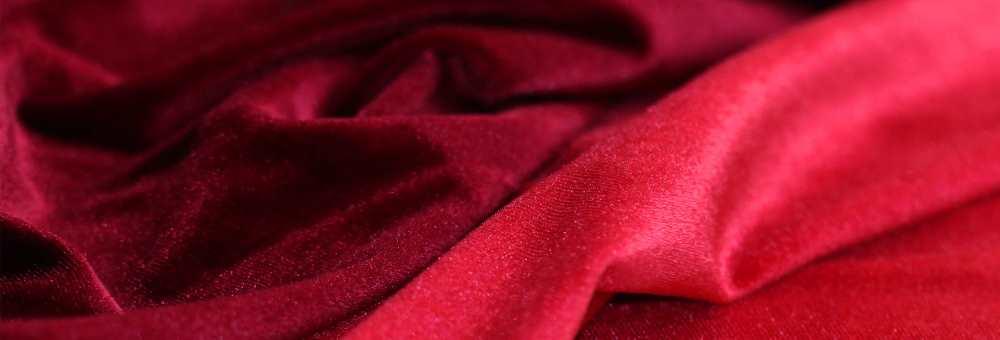
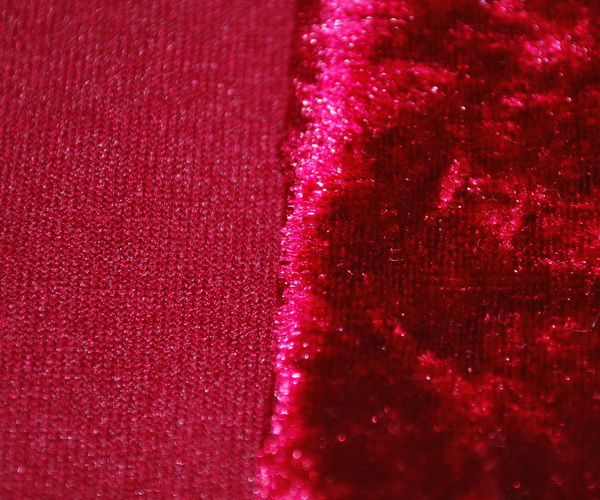
Long ago, maybe 5 years back in time, it was a sheer torture for me to embroider on stretch velvet. I vividly remember how I shed bloody tears every time when I was trying to hoop this wonder of a fabric. Especially in view of the fact that with this tricky fabric, stabilizers could not be used except for the water-soluble film topping. As a result, you could stretch it a great deal so as to make it tight in the hoop. And it is just about as stretchy as knitwear. In essence, it is knitwear – if you turn this velvet the wrong side up, you'll see the loops knit together:
And after the embroidery was completed, both the fabric and the embroidery puckered. What a mess.&
Only now, after having started to experiment with stabilizer and different kinds of fabrics, it dawned upon me that such materials should be glued directly to the stabilizer. Even the thinnest tear-away one will give you a wonderful result. Also, you can't think of this fabric as velvet when digitizing for it.
In other words, it appears that:
Stretch velvet should be glued to the stabilizer so as not to overstretch it in the hoop. There can be several ways of attaching it to the stabilizer:
- Sticking it to the hooped Filmoplast. Don't forget that Filmoplast in and of itself is a very bad stabilizer, it is really an additional measure, and you'll need to place a layer of stabilizer under the thing. A tear-away, for instance.
- Stick a piece of a fusible adhesive stabilizer to the velvet and hoop them together. But you should test it first to see whether it doesn't leave the hoop marks.
- Hoop the denser tear-away stabilizer and glue the velvet to it with a temporary spray adhesive.
- Additionally, you can fix it with a running stitch along the perimeter of the embroidery so as to prevent the velvet from detachment.
- The embroidery threads vary greatly in composition and thickness.
- You should use the most ordinary SES needles. Their thickness should correspond the thread thickness.
The digitizing recommendations will at the same time be similar to the ones for the knitwear and those for the ordinary velvet.;A cocktail of sorts:
- A design that has areas not filled with stitches is preferable. This will help to maintain the pliability of both the fabric and the embroidery.
- Avoid small details, especially the ones embroidered with the running stitches – they will sink into the pile and you'll have to retrieve the film from under them.
- Avoid big areas filled with lots of stitches – there is no stability in gluing the velvet to the paper, it will begin to detach, and the embroidery will be distorted as the consequence. This means that you'll need to substitute these fills for something less demanding like an applique or motifs comprised of satins instead of running stitches:
- The underlay should be of the most ordinary kind, in respect to the size of the elements and stitch lengths. Zig-zags are the most like candidate for the satins, and a grid or a full grid for the fills.
- The density of the finishing fills should be reduced to a minimum, with 0.45 mm as a starting point.
- Play with density and stitch length setting so that pile doesn't show through the stitches. Stitch length in the underlay should be increased to 3–5 mm.
- Pull compensation value should be increased compared to the standard one.
Such are the most basic concepts that will perhaps help someone to make a successful embroidery on the knitted velvet.
-
 1
1
There are no reviews to display.