
Original text by Marina Belova
Today I decided to summarize all knowledge about knitwear that I learned from various sources. For me, this is a rather interesting subject because I don't have much experience in working with knitwear, that is, I have literally none. For that reason, I always regard good embroidery made by others with respect and admiration, and that kindles a desire in me to do something like that myself.
Lately, I've been trying to study the theory before starting work in order to make fewer blunders when in comes to practice, and also to reduce the time loss.
So, let's take another step to machine embroidery on knitwear. The first step was my general overview of knitwear as an embroidery basis.
Embroidery on knitwear is simple but requires a few skills:
- You need to choose a right kind of stabilizer. Density and weight are the key factors that influence the decision: the thinner is the knitwear, the denser should be the stabilizer. According to the most common recommendations, a cut-away or even an adhesive stabilizer is best. For knitted garments of a rough texture, a polyester organza of a matching color will be a good choice. Alternately, you can use a dense tear-away stabilizer, either with a temporary spray adhesive or without it. Spunbond is also an option as the most tactile of all the stabilizers. All of these recommendations should be tested because different embroiderers use different stabilizers. A water-soluble film can be used to get the neat right side, especially if the design abounds with small details and letters.
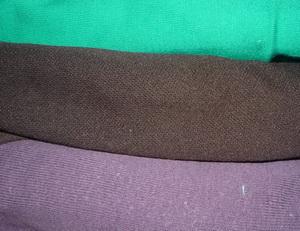
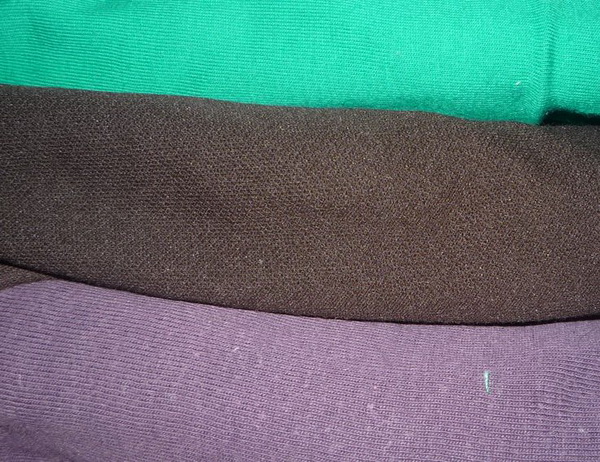
- You should always test the fabric prior to the embroidery, to see in what direction it stretches better.
- When hooping you can pull the fabric only slightly and only in the direction it stretches least. It's important to remember that too tightly hooped a fabric will return to its natural condition after the embroidery and this will result in puckering (deformation) around the design.
Knitwear: to hoop or not to hoop; that is the question. The first advice goes like this: you should hoop it only with the stabilizer, not place the stabilizer under the hoop for costs or whatever other reasons.
An argument to the contrary is rather wide-spread. It is simple – do not hoop the fabric but glue it with a temporary spray adhesive instead, and additionally secure it with a stitch along the perimeter of the embroidery.
This is something that everyone should figure out themselves. As for me, I tend to the hooping. Especially after I've tried to embroider a knitwear pincushion and a stuffed toy.
- If there are hoop marks, you'd better wrap the hoop into something soft. I've read that there are even special materials for hoop wrapping. Here you can read how I removed the hoop burn.
- Correct hooping is important for the designs that contain over 5 thousand stitches and many colors. I've written an article on how to check the quality of the hooping, and I also mentioned it in my article about the embroidery of the pincushion.
- Reduce the machine's speed.
- Adjust thread tension in the right way so that the upper thread isn't too tight.
- Soft rayon threads are preferable.
- You'll need ball-pointed needles (SUK), their thickness depending on the thickness of the fabric and may be anything between #65 and #75.
Read more about choosing a right kind of needle here.
The basic principles of digitizing for knitwear and knitted garments:
- You should choose a right kind of design or create a new one in accordance with the fabric type. The main criterion is as follows: the embroidery should not change the basic knitwear characteristics – its softness and the ability to arrange in folds.
- The design should not contain too many details and stitches or be of a large size.
- If the fabric is loosely spun, it's better to use an applique or chevron.
- Don't make the embroidery too dense.
- Be sure to avoid large filled areas.
- Also, it's better to do without outlines, especially the running stitch outlines.
- A rightly chosen underlay is immensely important. For large areas, an overarching underlay is recommended. It should be a full grid at 45/135° in relation to the finishing layer, not too dense with not overly long stitches (2.5–3.5 mm). Zig-zags and double zig-zags for the satins.
- Avoid too thick satin columns with great stitch length.
- Pull compensation should be increased compared to the standard value.
- Planning an embroidery sequence, follow this rule: from the center outwards.
Nothing difficult, just practice. In future there will be an article on my attempt at embroidering on one of the knitwear varieties – pique. And also one about embroidery on dense knitwear.
Edited by Irina
-
 1
1
-
 1
1
There are no reviews to display.