Original text by Marina Belova
About a year ago, one of the first visitors to my blog, Tatiana, asked me about embroidery on biflex fabric (also called Spandex). Back then I frankly said that I'd never encountered such a thing and didn't know anything about it. So, I am finally ready to try embroidering on this knitted fabric that has interesting characteristics.
Who does not know and use Spandex? Everybody knows it: swimsuits and trunks, sporting shorts and other sportswear are made from this material, it being able to assume any shape. Spandex is well-known for its ability to stretch up to 500% in any direction! And, no matter how many times you stretch it and then let go, it never fails to return to its original shape, always retaining its characteristics. One can thank the Du Pont company that more than half a century ago bestowed upon us a possibility of using this distortion-resistant material.
But, owing to the very same ability to stretch in all directions, Spandex is thought to be one of the most difficult fabrics for machine embroidery, and rightly so. It seems to me that even knitwear's famous proneness to be a tricky embroidery material fades in comparison with this fabric.
Meanwhile, almost everyone uses it — here and there you can see logos and designs, I even saw sequins once. This means that any embroiderer, whether having sufficient experience or not, will be able to embroider a design upon this fabric. I have a strong belief in that.
Technically, but only at the first glance, the embroidery process and preparations are rather simple.
The criteria for the high-quality embroidery on Spandex are exactly the opposite to the ones for all the other kinds of fabrics — here we pay attention to how good the design looks on a stretched fabric. In its relaxed state the fabric can even pucker around the embroidery and between the objects, but in the wear these problems go away and everything looks just right.
On the assumption that every garment made out of this material is worn in a stretched state, we arrive at the conclusion that even Spandex should be hooped together with the stabilizer and stretched — you can use a medium-weight cutaway stabilizer or an invisible spunbond, agreeable to the touch (if you manage to buy one).
Use knitwear needles (ball point, SES or SUK), #75.
And the ordinary threads (#40) or threads of any other kind.
So, how one creates a design for the ordinary threads or the threads chosen from the ones intended for Spandex?
The most important thing is to avoid filling patterns. Those that cover small areas can be used, but the big-sized ones are not recommended.
They won't allow for the fabric to stretch in a natural way when in wear, and the design will look distorted. The best designs are inscriptions, embroidered with satin stitches and images, formed by satin stitch columns, not connected to each other. The ones that allow for the maximum free space between the elements. Stitch lengths should be between 5 and 6 mm. Small elements and details are better to be avoided.
The stitch density for the ordinary threads (#40) is 0.3—0.4 mm. Here you are bound to some experimenting in accordance with the way of stitch count algorithms in your particular embroidery editor.
Pull compensation is set to the standard value. In my case, it's pretty always 0.2 mm.
I follow the example of John Deer who wrote that a design for Spandex/Lycra/elastane should be created in the same way as for pique. I.e. you should secure the outer layer of stitches with the underlay.
- For satin stitches under 3 mm use edge run.
- For satin stitches over 3 mm use edge run + double zig-zag.
- For filling patterns use a grid at 90° in respect to the finishing layer of stitches or a full grid at 45° and 135° + edge run. This layer has a low density — about 2—2.5 mm.
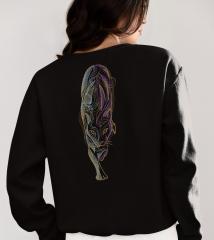
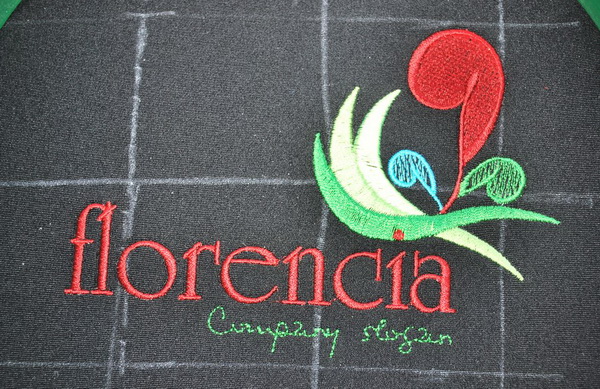
All of this is obvious and understandable, so I created this logo:

The design contains all stitch types, including both recommended and not recommended ones: And also satin stitch columns and filling patterns of varying density, and even letters stitched with a running stitch. I tried to embroider it the familiar way:
- with the same kind of stabilizer that I use for everything (which was sold to me like a tear-away, but turned out to be more a cut-away one)
- employing the same hooping method where it is also important for the fabric not to be slack.
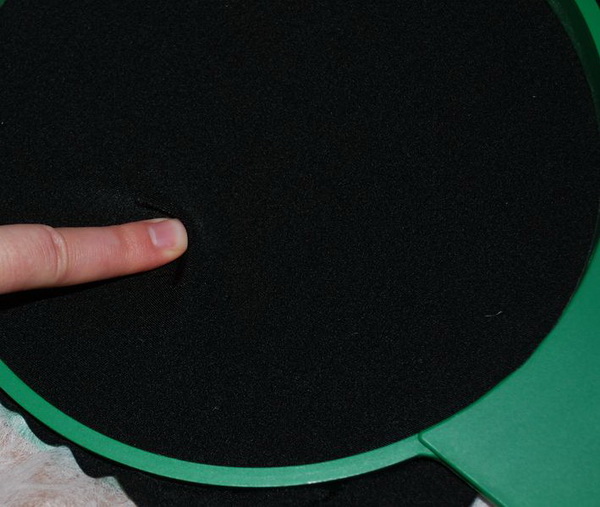
And of course, hooping became my first problem. The fabric is potentially extremely elastic, and no matter how much I try, it will always be slack in the hoop; and what's more, it could be easily lifted off the stabilizer:
My second problem was that I, while realizing that I should stretch the fabric in the hoop, didn't make any markings, not even the little cross to show the center, and the result was that I couldn't grasp in what direction and to what extent I should stretch. But I embroidered the design anyway and saw that the edges of satin stitches, especially long ones, became jagged, and that 4—4.5 stitch length and 0.4 mm density were not enough (the stitches became slack and the fabric showed through), even if there was an underlay formed with double zigzags under it.
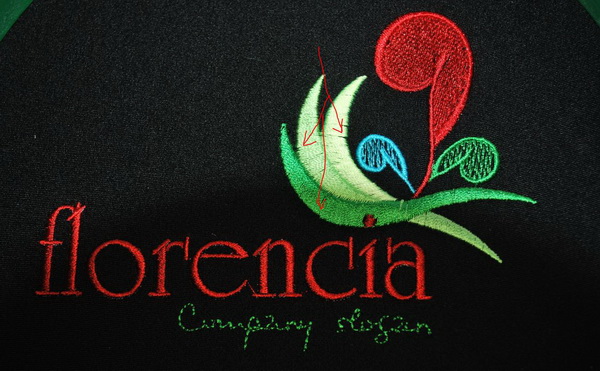
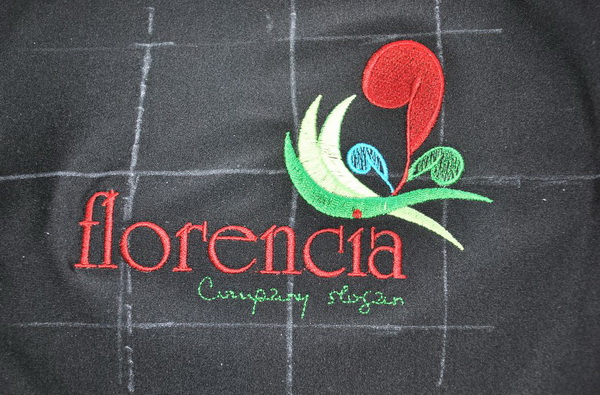
This is how the embroidery looks when out of the hoop:
Not so bad for the first time. Low-density filling patterns easily arrange in folds and even stretch, but I'd rather not overburden the design with the high-density ones. The embroidered rows of letters look pretty normal — I haven't noticed anything peculiar, so they can be used.
But I immediately began to wonder: just how much the fabric should be stretched in the hoop so that it looks good in wear? How does one keep it under control? I looked it on the Web, and found these wonderful tips from Pat Williams — she tells that when hooping such fabrics it is sufficient to stretch them 10—40%.
The reason for the jaggedness of the satin stitches is obvious — the understitching settings were wrong. I placed long zig-zag stitches under the satin stitch columns, but had I split each of the long stitches into several shorter ones, the problem would be solved.
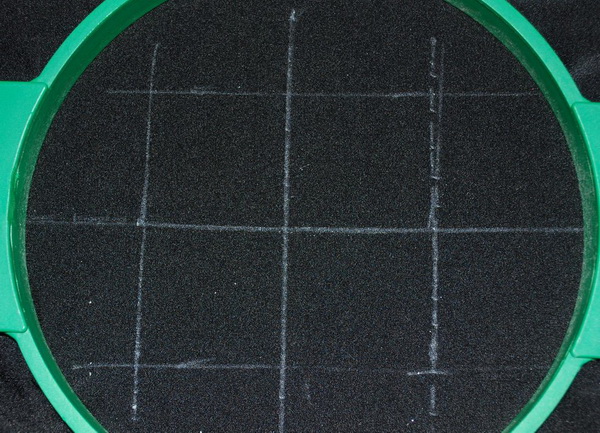
For my second embroidery sample not only did I mark the Spandex with a cross signifying the center, but also inserted a 10x10 square so that I could control the quality of the hooping and the degree to which the fabric would be stretched. I managed to stretch the fabric for 15% (a square about 11.5x11.5 cm) when hooping. And it was not a very easing hooping process for me:
I now embroider the edited design; it looks somewhat better, but a higher density for the thick satin stitches wouldn't be unwelcome.
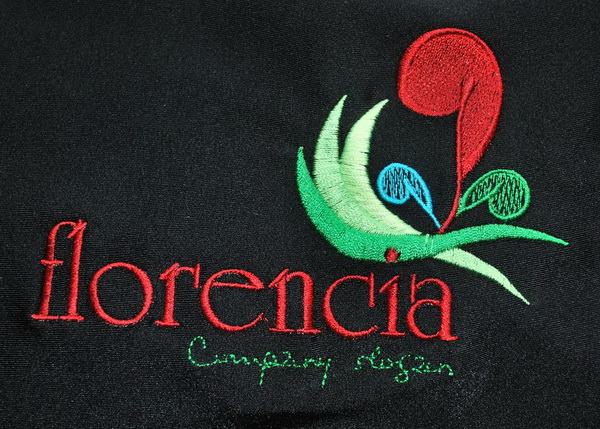
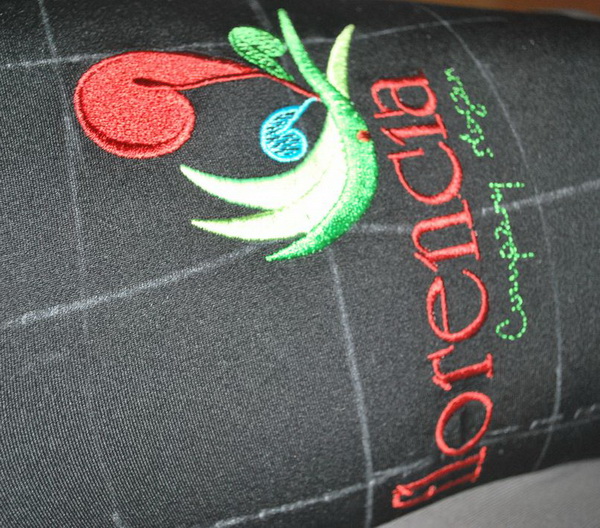
This is the fabric out of the hoop that puckers all around the design:
And this is the same fabric, but stretched along the leg, so the embroidery looks splendid:
You can embroider on such a material, and therefore, you should test the results and change your design in accordance with them. Besides, you'll need to explain to your clients, why the embroidery on these kinds of fabrics looks like that in its relaxed state.
P.S. Gunold USA has published the video on how properly stabilize such tricky fabrics as Spandex and knits containing a lot of elastic fibers.
Edited by Irina
-
 1
1