
Original text by: Marina Belova
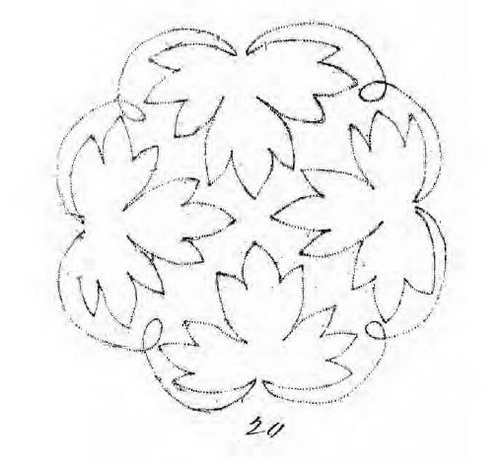
A few day ago I decided to practice cord embroidery, hence I have the required equipment. Without further ado, I chose the simplest possible design from the old Briggs’ Patent collection, which was originally intended for embroidery with cord or ribbon. Here it is:
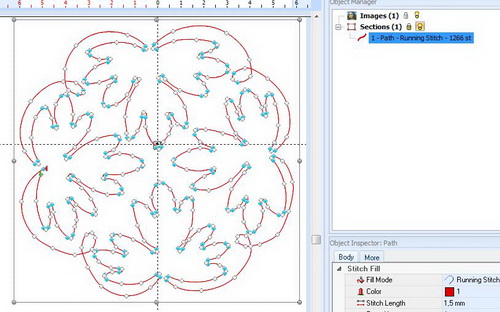
I digitized the design with a simple running stitch using the same methods as described in my previous article on cord embroidery. Below is the preview of my design:
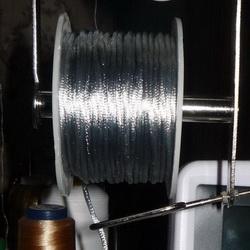
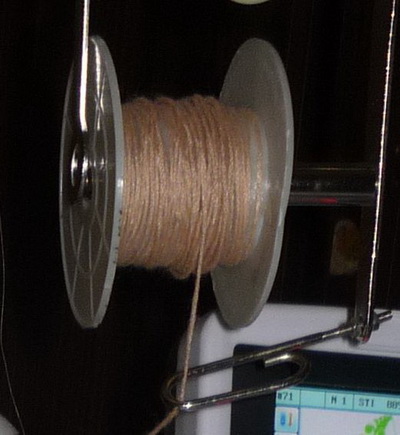
So I started the embroidery. Before pressing the start button I inserted the newly bought silk cord 3 mm wide and set the piping foot in a required way. The cord was of an appropriate size and could fit into the biggest groove under the piping foot on my machine.

But something went wrong. I stopped the whole process, soon after having started.
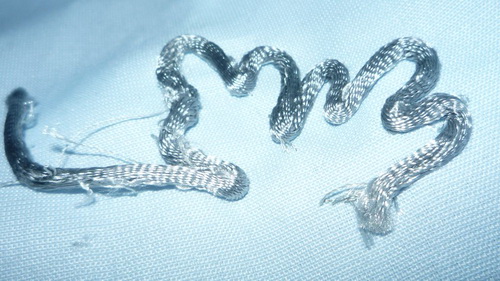
The cord turned out to be too tightly woven, and the thread kept breaking. As I didn't have any monofilament yarn, I tried to sew it with ordinary polyester thread.
And I didn't like the result in the least. I chose one of my knitting threads — soft cotton one, made of several twisted fibers, and wound it instead of the cord on the same plastic spool.
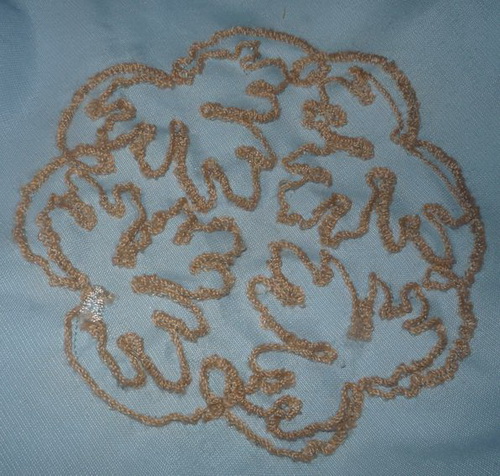
This time, the embroidery went without any problems. There were no complaints about the quality of the sewing, except at one place. I even inserted bar tack stitches at the beginning and the end of the cord, and understood that the next time I'll better not do it. The quality was utterly disappointing.
Whether it was due to my knitting threads being unsuitable for the purpose or the design imperfections, I cannot say. And I want so much to know, where to use this fabled cord!
I instantly remembered, even without doing the web search, the embroidery samples of the old past, which can now be found in the museums around the globe. In those days cord was used in applique: it concealed the edge cut. Though it was, of course, done by hand, you can try doing something akin to this on your machine.
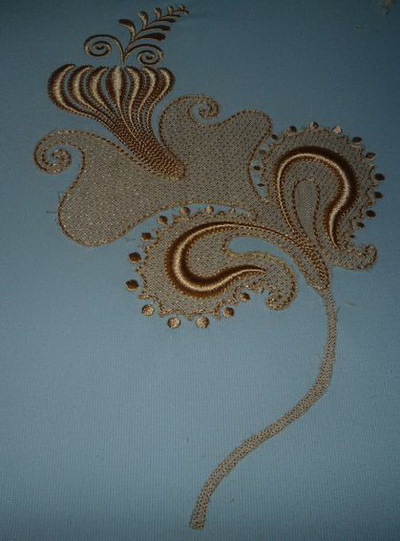
I've been searching for a suitable design for a considerate time. I perused lots of clipart and settled upon this picture:
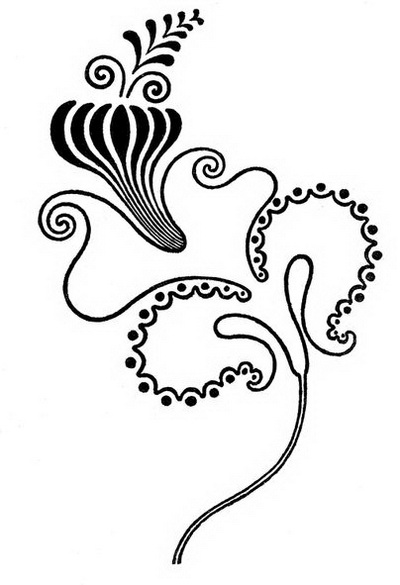
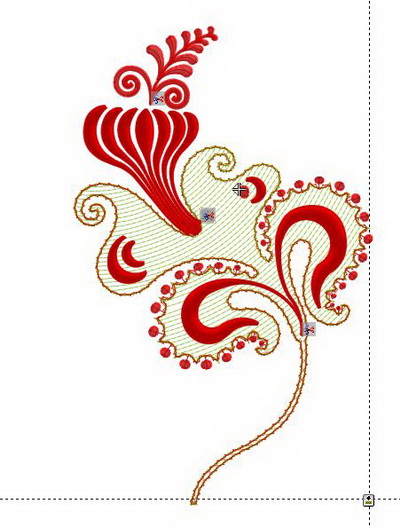
Inside this intricately shaped thing, I decided to put an applique, the edges of which I would then decorate with a cord. The rest I intended to embroider with satin stitches, partly in the Thread Velvet technique. I had to modify the original design, adding several elements. The resulting design contained almost 32 thousand stitches thanks to the Thread Velvet:
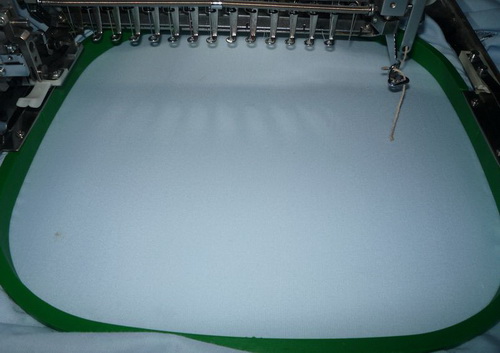
Now that the design is ready, all I need to do is to embroider it. I hoop the fabric with the stabilizer:
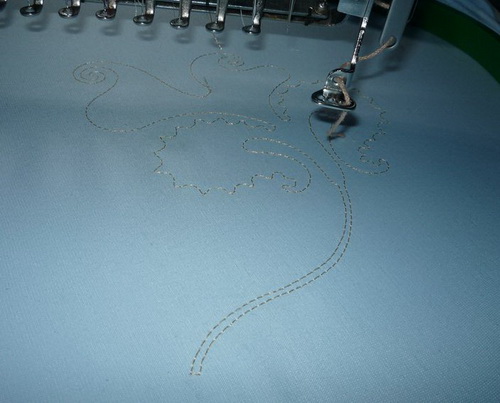
And embroider the outline for the future applique:
Then I put the applique material on top:
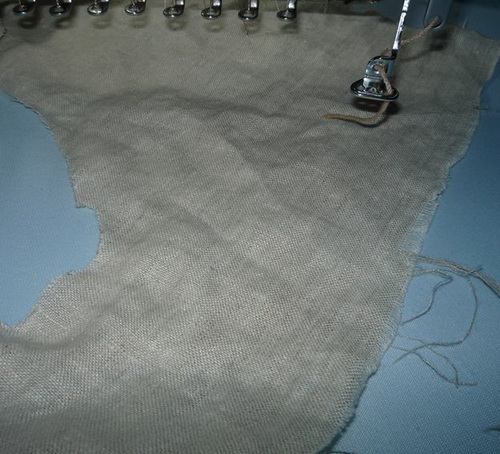
Stitch it to the main fabric with the running stitch, outlining the design at the same time. Then, after the machine makes a stop, however more carefully trim the extra fabric around the edges:
Get the piping foot ready, placing it under the needle:
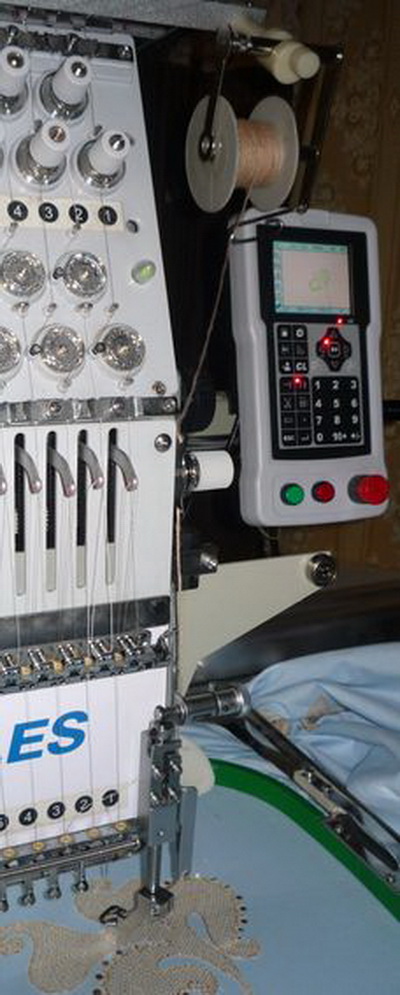
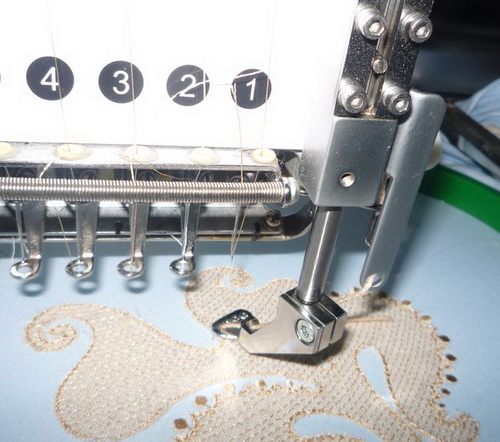
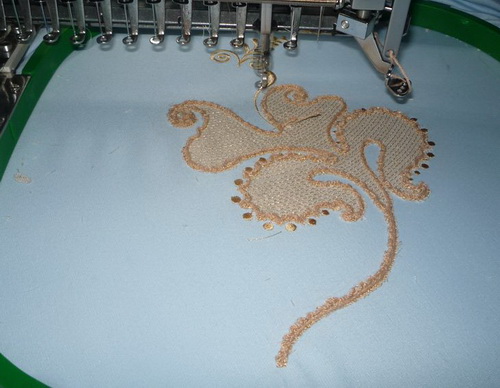
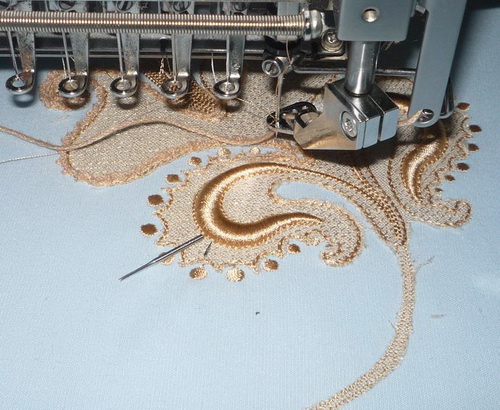
Hit the start button and begin sewing cord to the fabric. It'll look like this:
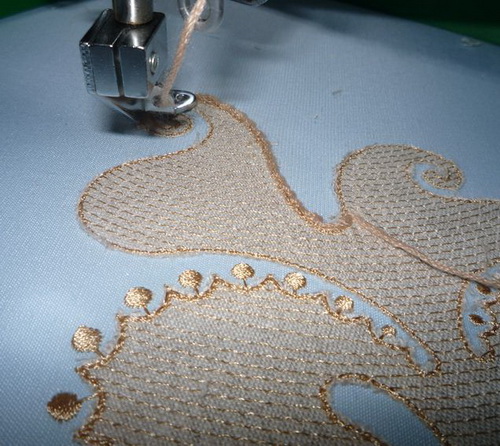
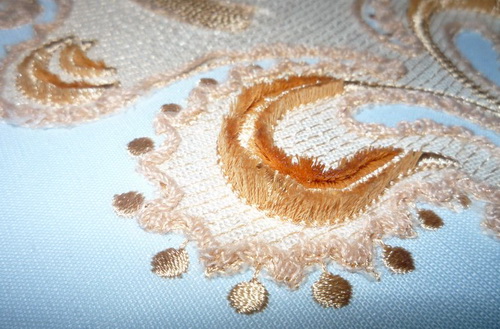
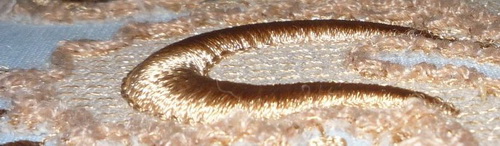
This is the cord already sewn along the perimeter of the applique:
On one of the photos above you may see that there are missing stitches inside. For that reason, I stopped the embroidery even before sewing the cord, added the missing elements and embroidered all the rest:
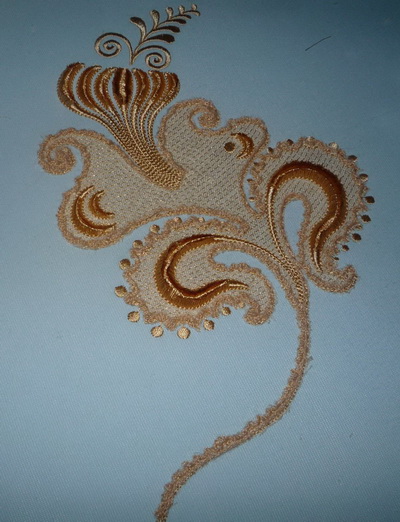
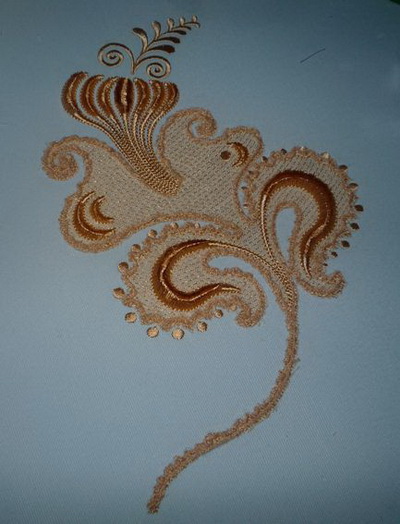
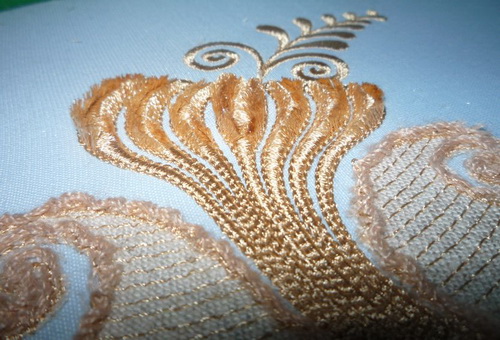
Some time after that everything is ready:
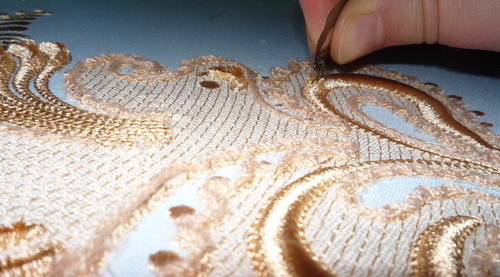
Now little is left — to cut the threads in the satin columns, in order to fray them a bit so that they look like having been done in the Thread Velvet technique. I did this with an ordinary razor blade:
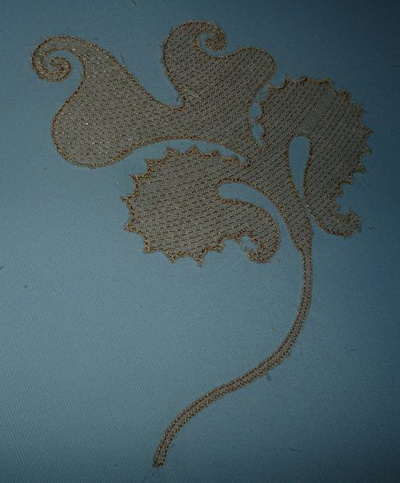
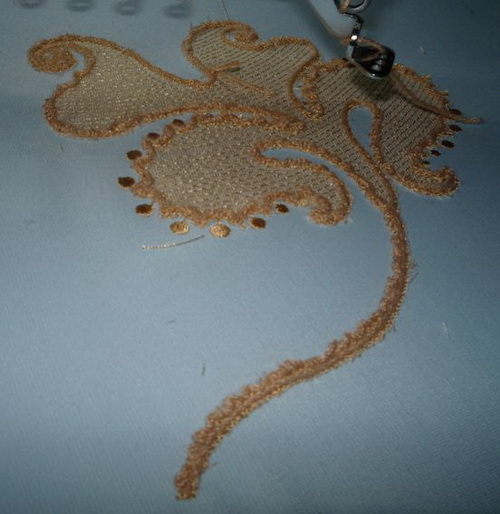
The general look of the ready embroidery:
The closer look:
This experiment suggested to me that the cord looks splendid in combination with any embroidery technique. The design was not difficult to create. The second time I succeeded. The most important thing is to choose the right type of thick twisted thread or cord and correctly adjust the piping foot.
Although there were some mistakes. One of them is as follows. In my first version of the design, the applique was to be embroidered last. And only after that, I proceeded to cording. All other elements were embroidered at the very beginning, including the bulky Thread Velvet satin columns. This is how it looked before sewing the cord:
When I was cording the edges of my applique, the piping foot shifted a bit every time satin column appeared to in the way. And of course, the groove, into which the cord was inserted, shifted too, so the needle began to hit not the hole in the foot, but the foot instead, and therefore broke. On the photo below I've already changed the needle.
I didn't even finish embroidering the first sample.
See how thick were my Thread Velvet columns?
The summary: you can achieve anything by trial and error.
P.S. Cording, part 2
Edited by Irina
-
 2
2
-
 3
3
There are no reviews to display.