

Original text by Marina Belova
An embroidery machine can do many interesting things besides the common embroidery. Not by itself, of course, but with the help of a person sitting at it. Nowadays there are many projects called Piece in the hoop. If asked to explain what it means, I would answer in that way: these are projects that allow getting a ready item or a semi-finished product without the use of the sewing machine.
What you can do in such a way:
- Almost ready soft toys: you'll only have to stuff them and sew up the opening.
- Eyelets of different shapes with double-sided appliqué for towels.
- Various embroidered accessories that are sewn up right on the embroidery machine – smartphone cases, eyeglass cases and so on.
- Semi-finished quilts. Both with the embroidery or not.
Could be many other things, for all I know.
All of them, of course, are made in a proper sequence tailored to their individual purposes. You can easily find all the instructions on the Web.
The designs are necessarily digitized in a proper technique.
I've long observed how the quilt on an embroidery machine is made. Today I, at last, decided to create a square with a very simple design myself.
In my opinion, quilt can be regarded as a type of appliqué, so why not to make it in the hoop? Especially if you dislike sewing as much as I do.
Here's what I got as the result:
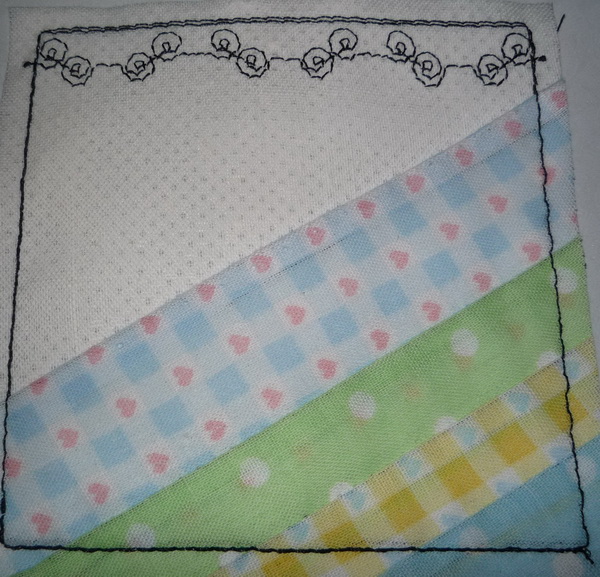
a quilt square made on the embroidery machine
Below is the step-by-step guide.
First, I created a simple design containing the running stitches only. About 1020 stitches in general.
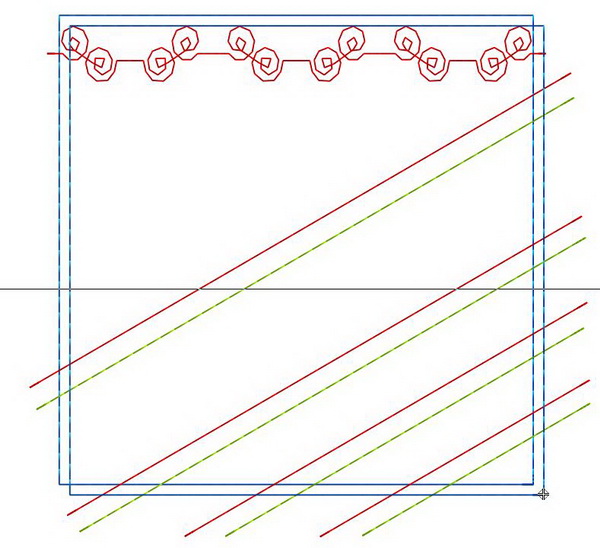
Design preview from the quilt editor
I selected 5 different kinds of fabric and went with them to the machine.
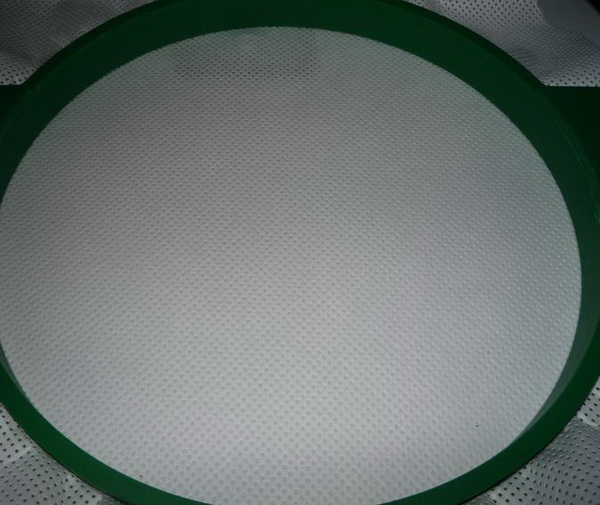
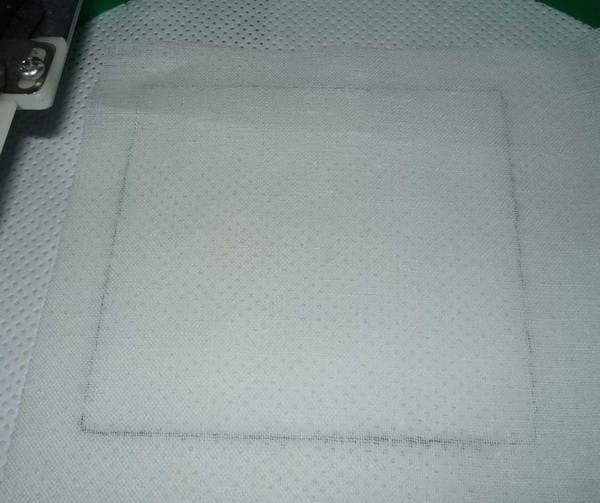
The first thing I did was to hoop a stabilizer. Not long ago I bought a 60 g/m Chinese perforated tear-away stabilizer. It is very soft, despite being rather dense. I decided to use it.
Quilt: step 01
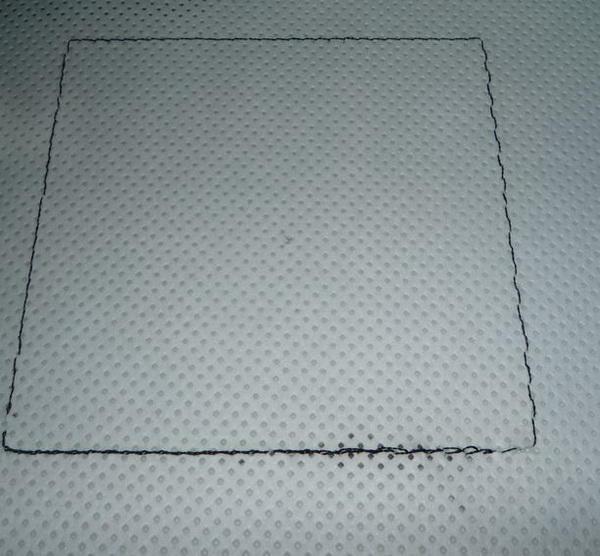
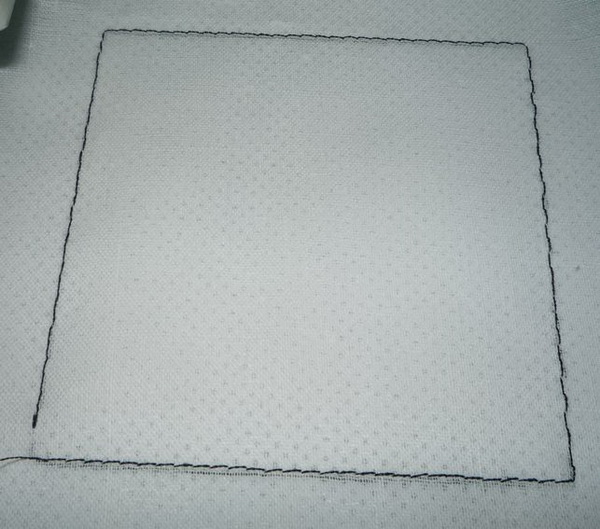
The first thing I embroidered was an outline for my future quilt. I settled upon the black threads – so that everything would be visible.
Quilt: step 02
Then I placed the basic fabric so that it completely covered the embroidered square.
Quilt: step 03
After that I stitched my fabric along the perimeter so that it didn't shift, crease or fold. Perhaps I shouldn't have done it, I don't know. But I thought it would be right.
Quilt: step 04
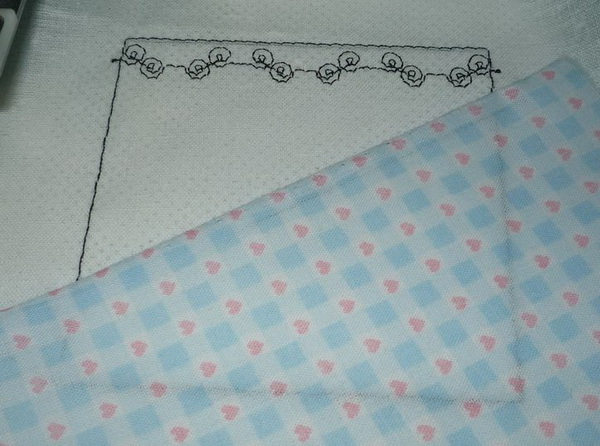
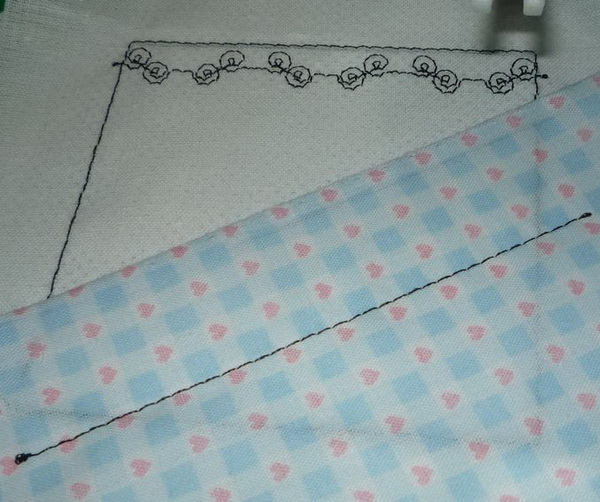
Then I embroidered the upper ornately shaped border and also the first outline to which I'd fit my first piece of fabric.
Quilt: step 05
I picked up the fabric and placed it face down with its edge to the stitch:

Quilt: step 06
I started the machine and stitched this piece of fabric to the one that was already there:

Quilt: step 07
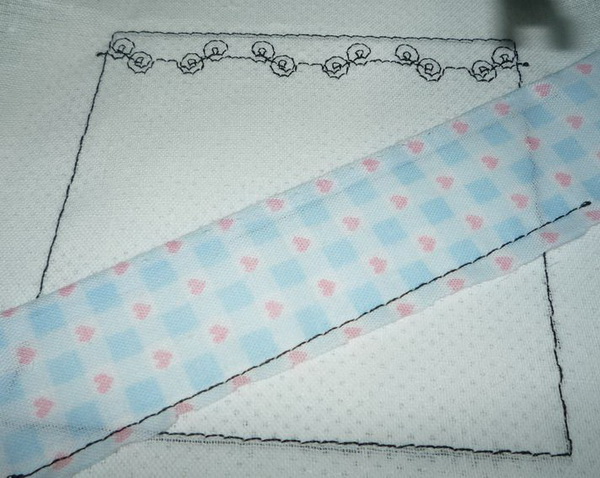
Now it was an interesting moment – I folded the fabric into the face:
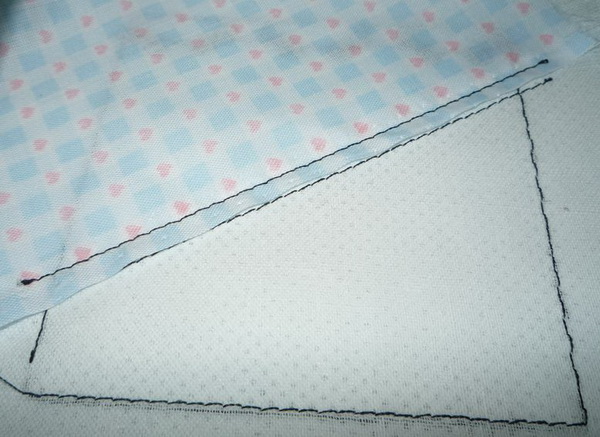
Quilt: step 08
Then I embroidered one more stitch on top of everything, to which I would trim the extra blue fabric and with which I would align the next piece:
Quilt: step 09
I trimmed all the extra material:
Quilt: step 10
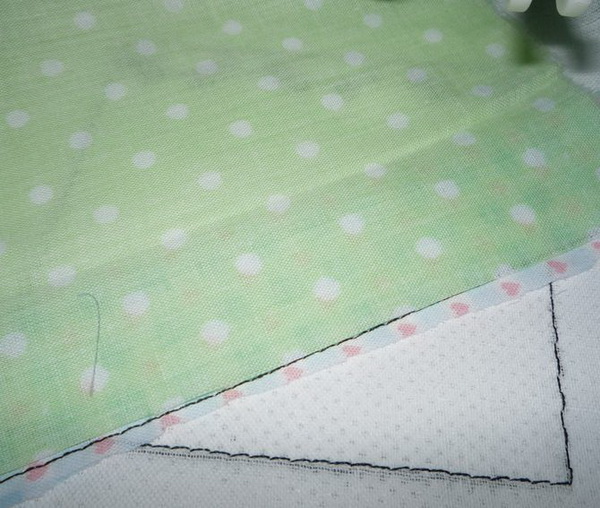
Put the next piece of fabric:
Quilt: step 11
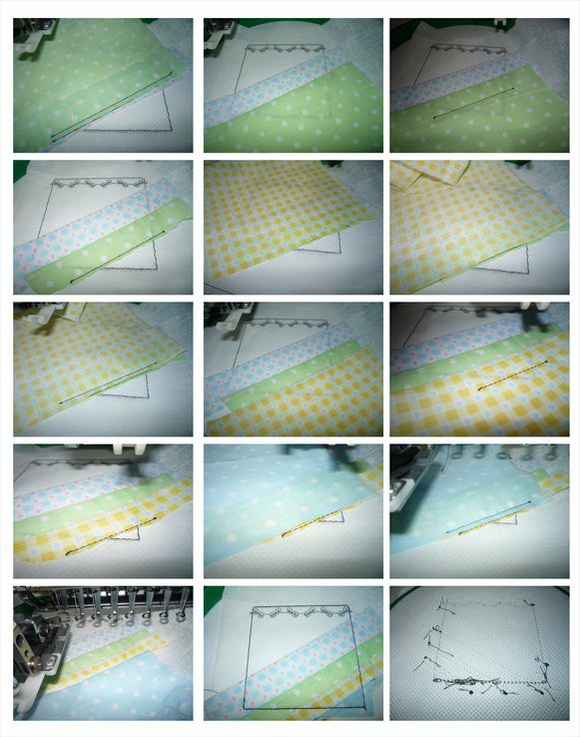
Again and again, I stitched, folded, trimmed and added new pieces of fabric – until the embroidery was completed.
Quilt: steps 12-25
In the end, when everything had been stitched and folded, I decided to add one more black stitch along the perimeter of my square. Now I think it was unnecessary. The stabilizer is wrong, too – it shows through the fabric. I should have used a different one. Something like spunbond, I think, which wouldn't be visible through the fabric. You need to test every time, you know.
This technique requires quite a lot of effort. But me having tried it suggested the following: I could add ornaments to the jointing edges to get something akin to crazy quilt. Must look interesting. Also, there are tons of patterns for this purpose on the internet.
Edited by Irina
There are no reviews to display.