
Original text by Marina Belova
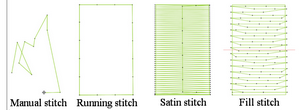
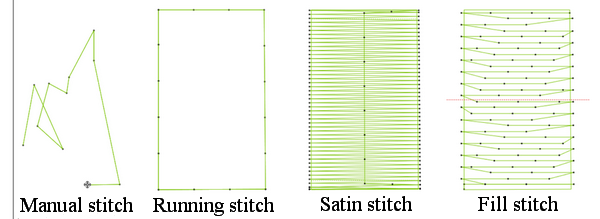
All machine embroidery designs are made with only 4 basic types of stitches. All other stitches that can be created in various embroidery editors are just the offsprings of these basic types. Even the most complex design is a combination of these 4 basic types.
The main types of stitches are:
- Manual stitch
- Running stitch (also called Walking stitch)
- Satin stitch (also Column stitch)
- Tatami (Fill, Seeding stitch, and so on)
I'll describe each of these types in a few words.
First: Manual stitch
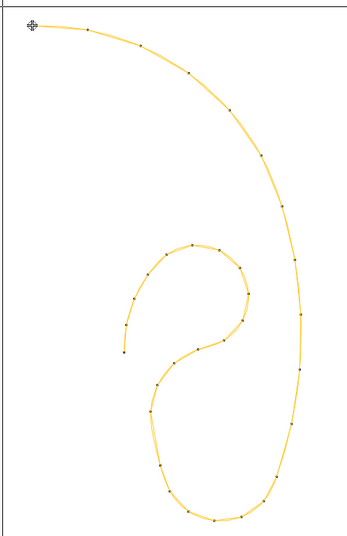
This is the most basic stitch type in embroidery. Every separate stitch is created manually, without using the automatics.
Manual stitch can be used instead of the auto-generated running stitch when it's not possible to create the desired effect with the help of the editor.
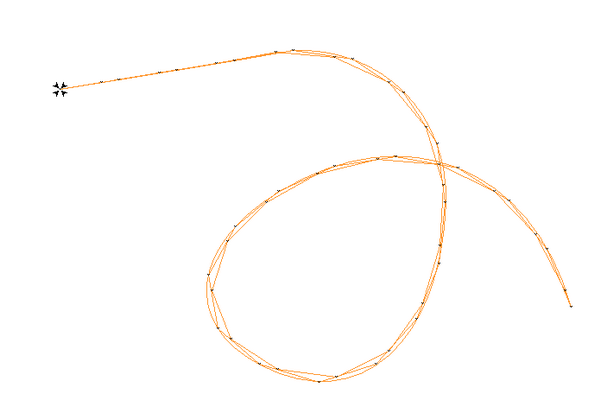
Second: Running stitch
Running stitch is considered the simplest and most creative stitch at the same time. Why is that? Because a digitizer, not the software, controls every stitch that is laid on the fabric.
Running stitch has a small number of properties:
1. Stitch length (one should avoid short stitches)
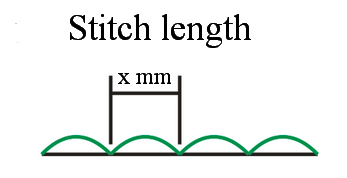
2. Number of runs (how many times every stitch is repeated) For example:
- Single running stitch
- Double running stitch
- Triple running stitch
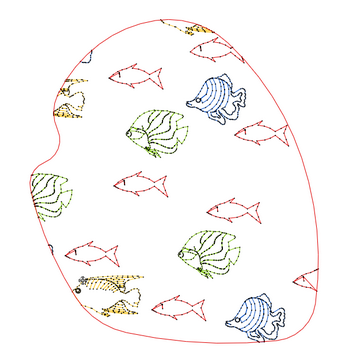
- Motif stitch (follows an established pattern)
There are several effects that can be applied to the running stitch. Their variety depends on your embroidery software. For example:
- Variable stitch length for better registration
- Stitch offset (or Swing)

- Shifting rows of needle penetrations with several repeats
There is a large number of occasions on which the running stitch can be used:
- Design details
- Decoration (motifs)
- Contours (the most complex outlines)
- Manual understitching
- The Outline Designs
- Redwork
- Quilt
- Jump stitches between the objects
- Preliminary stitches (basting stitches, guidelines)
But the greatest advantage of this type is that it makes the least impact on the fabric of all four.
Compare 2 basic stitch types here.
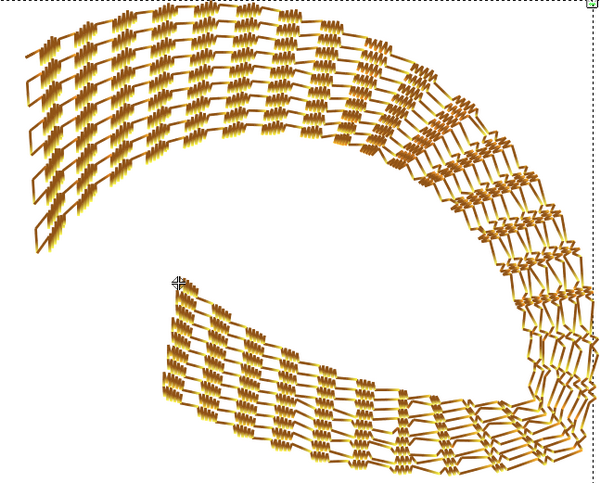
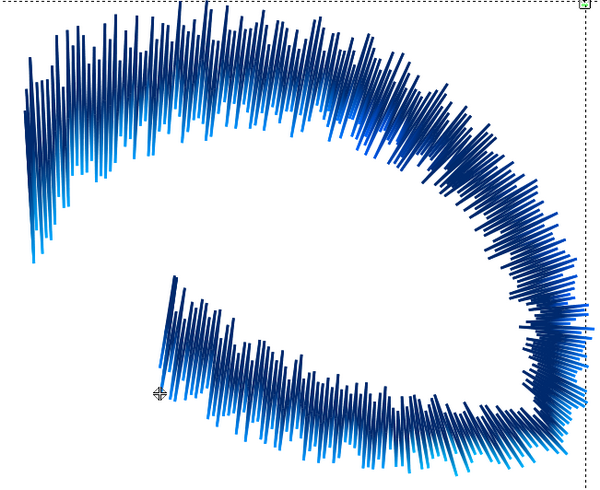
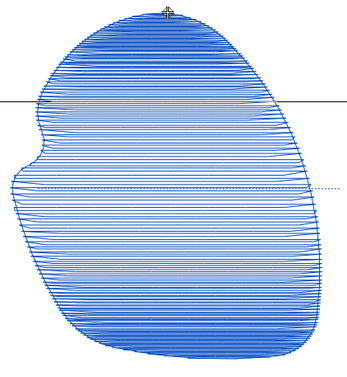
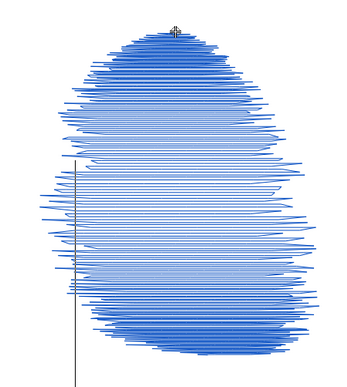
Third: Satin stitch
Satin is the type of stitch that is most widely used. It consists of stitches that can change their angle after every penetration. There can be more than one stitch angle in the object embroidered with satins.
When creating satin stitch objects you should pay attention to:
- Stitch length (it's necessary to avoid too long or too short stitches)
- Stitch angle
- Stitch density
- Pull compensation
- Push compensation
- Stitch shortening
- Edge shape
There are tons of effects that can be applied to satins. Their variety depends on your embroidery software. For example:
- Satin stitch with consistent width (Satin border, Satin column, Serial satin)

- Tatami Patterns

- Feathering (jagged edge)

- Radial fill

Satin stitches are used for creating the following objects:
- Small lettering
- Contours
- Column of varying geometry
- FSL (lace that does not use the fabric as a basis)
Satin is also used for creating dancing shadows as its surface reflects the sunshine
Satin distorts fabrics.
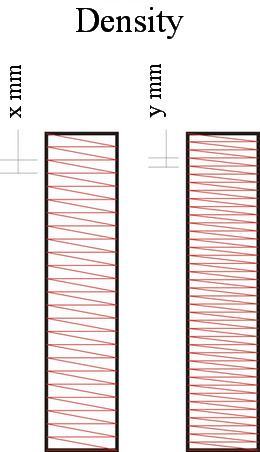
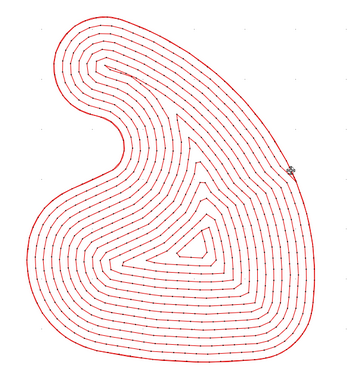
Fourth: Fill
Fill consists of rows of running stitches that form patterns in accordance with needle penetration parameters. An object made with these stitches usually has only one stitch angle.

There is a handful of parameters that should be controlled when using this type of stitches to create objects:
- Stitch length (it's necessary to avoid too long or too short stitches)
- Stitch angle
- Density

- Pull compensation
- Push compensation
- Edge shape (sharp, square/straight, chiseled/acute)
- What other effects than can be applied to the fills? Their variety depends on your embroidery software. For example:
- Decorative fills
- Motif fills (can be programmed)
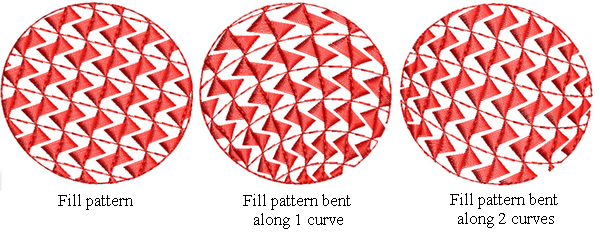
- Waving effect – bending the fill along one or two curves
- Spiral fill
- Gradient fill
- Textures
- Feathering
Fills are used for large embroidery areas.
They distort fabrics the most.
P.S.: Some other stitch typologies
Having written this article I encountered Helen Hart Momsen's, a famous digitizer's, article called The Building Blocks Of Embroidery in the Printwear magazine. Helen thinks that there are only two stitch types: running stitches and satin stitches. Manual stitch, according to her, is a running stitch where the position and length of every individual stitch are determined by a digitizer and not the software. She also doesn't think that filling stitches should be singled out as fills are simply clusters of running stitches.
Traditionally, there are only three stitch types:
- Running stitch
- Satin stitch
- Fill
There are no reviews to display.