I've decided to further discuss the subject of saving the number stitches in the design, about which I wrote earlier, and try a very interesting method: changing the ordinary #40 thread for the thicker #30 one.
It is believed that a change like that allows to save up to 20% of stitches and yet maintain the proper look. These 20% weren't spun out of thin air, but carefully calculated: the #30 thread is exactly 20% thicker than #40. I want to see it with my own eyes.
I've seen on various exhibitions that many of the manufacturers use thicker threads quite often, mostly for interior decoration. And the reasons they are doing it is to save the number of stitches and the time needed for the embroidery. And the threads, of course. In my country all threads except the standard #40 ones should be preordered and received only after a month or so. What a pity. For this is a real honeypot.
My test will somewhat lack validity, because the threads have different composition. It's all because #30 rayon or polyester thread is not easy to find. Or maybe I don't know where to look. But in this case I'm particularly interested in saving stitches because of the thread change.
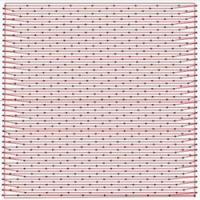
So. I have 3 types of thread of different brands for the purpose:
I'll list them from left to right: WonderFil 120/3 (cotton), Gunold 30 (cotton), Fufu's 120/2 (polyester). You can easily see on the photo that the two threads on the left are of the same thickness, and the one on the right is really thin compared to them.
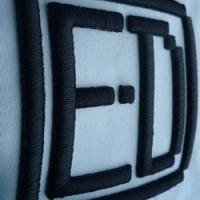
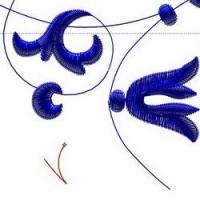
I created a simple monogram, made two copies of it and changed the parameters, such as stitch density and the density of the underlay. I embroidered them all together on one piece of fabric:
Of course, the threads are different and so is their look.
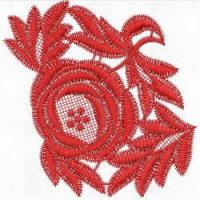
The monogram on the right was embroidered with polyester thread in an ordinary way with the density of 0.4 mm. In contains 4365 stitches.
The monogram in the center was embroidered with Gunold cotton thread. It contains 3613 stitches. I lowered the fill density and the density of the underlay by 20%. Incidentally, I liked a lot how these threads lie on fabric.
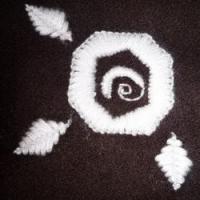
The monogram on the left was embroidered with WonderFil cotton. It contains 3444 stitches. Here I lowered the density by 25%.
Summary: The monogram in the center looks rather good because of the use of cotton thread. The stitch coverage is acceptable. And yet it allows to save about 17.2% of stitches. As for the monogram on the left, the low density is visible. Though it saves 21% of stitches.
- Read more...
-
- 0 comments
- 3,261 views