Flat knot that goes through needle's eye
By
Irina, in Machine embroidery materials and technology, , 0 comments, 6,277 views
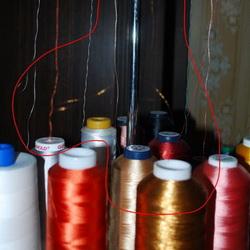
Perhaps, everybody knows how tiresome it is to change thread color on multi-head embroidery machines. As for single needle embroidery machines, inserting the thread into the needle's eye every time when you need to change color is quite a wearisome task, too. Therefore, every embroiderer could use the skill of joining the ends of two threads into a flat self-tightening knot that passes through the needle's eye. It is especially true if you insert a very thick thread (like acrylic) into the needle's eye.
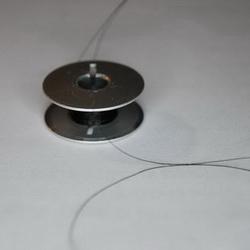
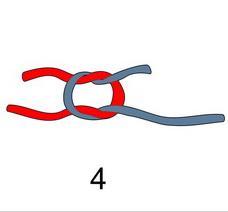
I will not go into details of how one can do it, but instead show you the picture, which served as a guide for myself when I was learning to knit amigurumi toys. Even now the ability to tie two threads together makes the job much easier:
P.S. Polyester threads, in my opinion, should be tied in a tighter knot than rayon ones, for they have a tendency to slip out of it. In order to avoid it you may also leave the longer thread ends.
P.P.S. Imagine my disappointment when the trick didn't work out on my home embroidery machine.