Today I uncovered yet another embroidery myth — about the possibility of replacing 3D Puff with a similar material. As they say, why waste money if there is no difference? Especially keeping in mind that I finally managed to find a 3D Puff replacement by trial and error.
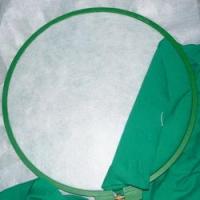
On weekend, while being in my country cottage, I had my eye on a couple of thermal insulants, used in home building, which turned out to be quite voluminous, rather soft and flexible by touch, and besides, one of them looked exactly like 3D Puff:
The material on the left is rather spongy, soft and flexible. It's about 5 mm thick. The one on the right is similar to embroidery foam: it is soft and flexible. It's about 6-7 mm thick:
Seeing them I immediately got an idea to try and make the 3D embroidery with them. Though everybody on the internet advises against it.
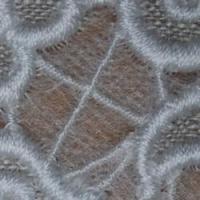
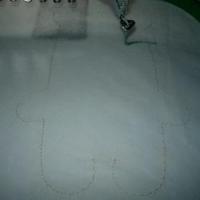
I created a pattern according to all of the rules of creating the 3D embroidery patterns and started the embroidery. I used the spongy insulant first. The embroidery process went smooth, I had no problems with the material:
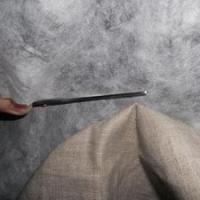
It tore off very neatly along the perimeter, leaving practically no traces:
As for the expected volume, the things were much worse: there was no volume at all. For this insulant crinkles badly, and does not retain volume afterwords. Therefore, it should be discarded once and for all.
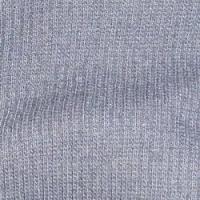
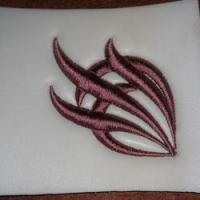
I used the Puff-like insulant second. I had high hopes for it. The embroidery process went extremely good:
After having took the hoop off the machine, I immediately noticed that this material crumbs terribly, leaving a trace of small bits, which is a huge disadvantage.
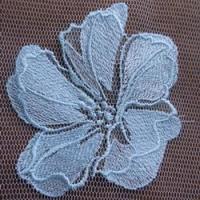
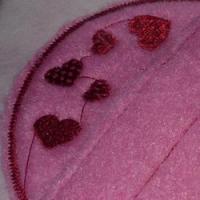
And when I began to remove the insulant, I was extremely disappointed: the volume of the embroidery was insufficient, despite the material being relatively thick. It pales in comparison even with 3 mm thick, but solid 3D Puff.
It takes quite an effort to tear if off along the perimeter, and leaves bits that cannot be pluck out or even fused with the help of a lighter.
The second material that looks so much like 3D Puff, turned out to be entirely unsuitable for embroidery.
Summary: all is not gold that glitters.
- Read more...
-
- 0 comments
- 3,628 views